---
title: Admin UI extensions
description: >
Admin UI extensions make it possible to surface contextual app functionality
within the Shopify Admin interface.
api_version: 2026-01
api_name: admin-extensions
source_url:
html: 'https://shopify.dev/docs/api/admin-extensions/latest'
md: 'https://shopify.dev/docs/api/admin-extensions/latest.md'
---
# Admin UI extensions
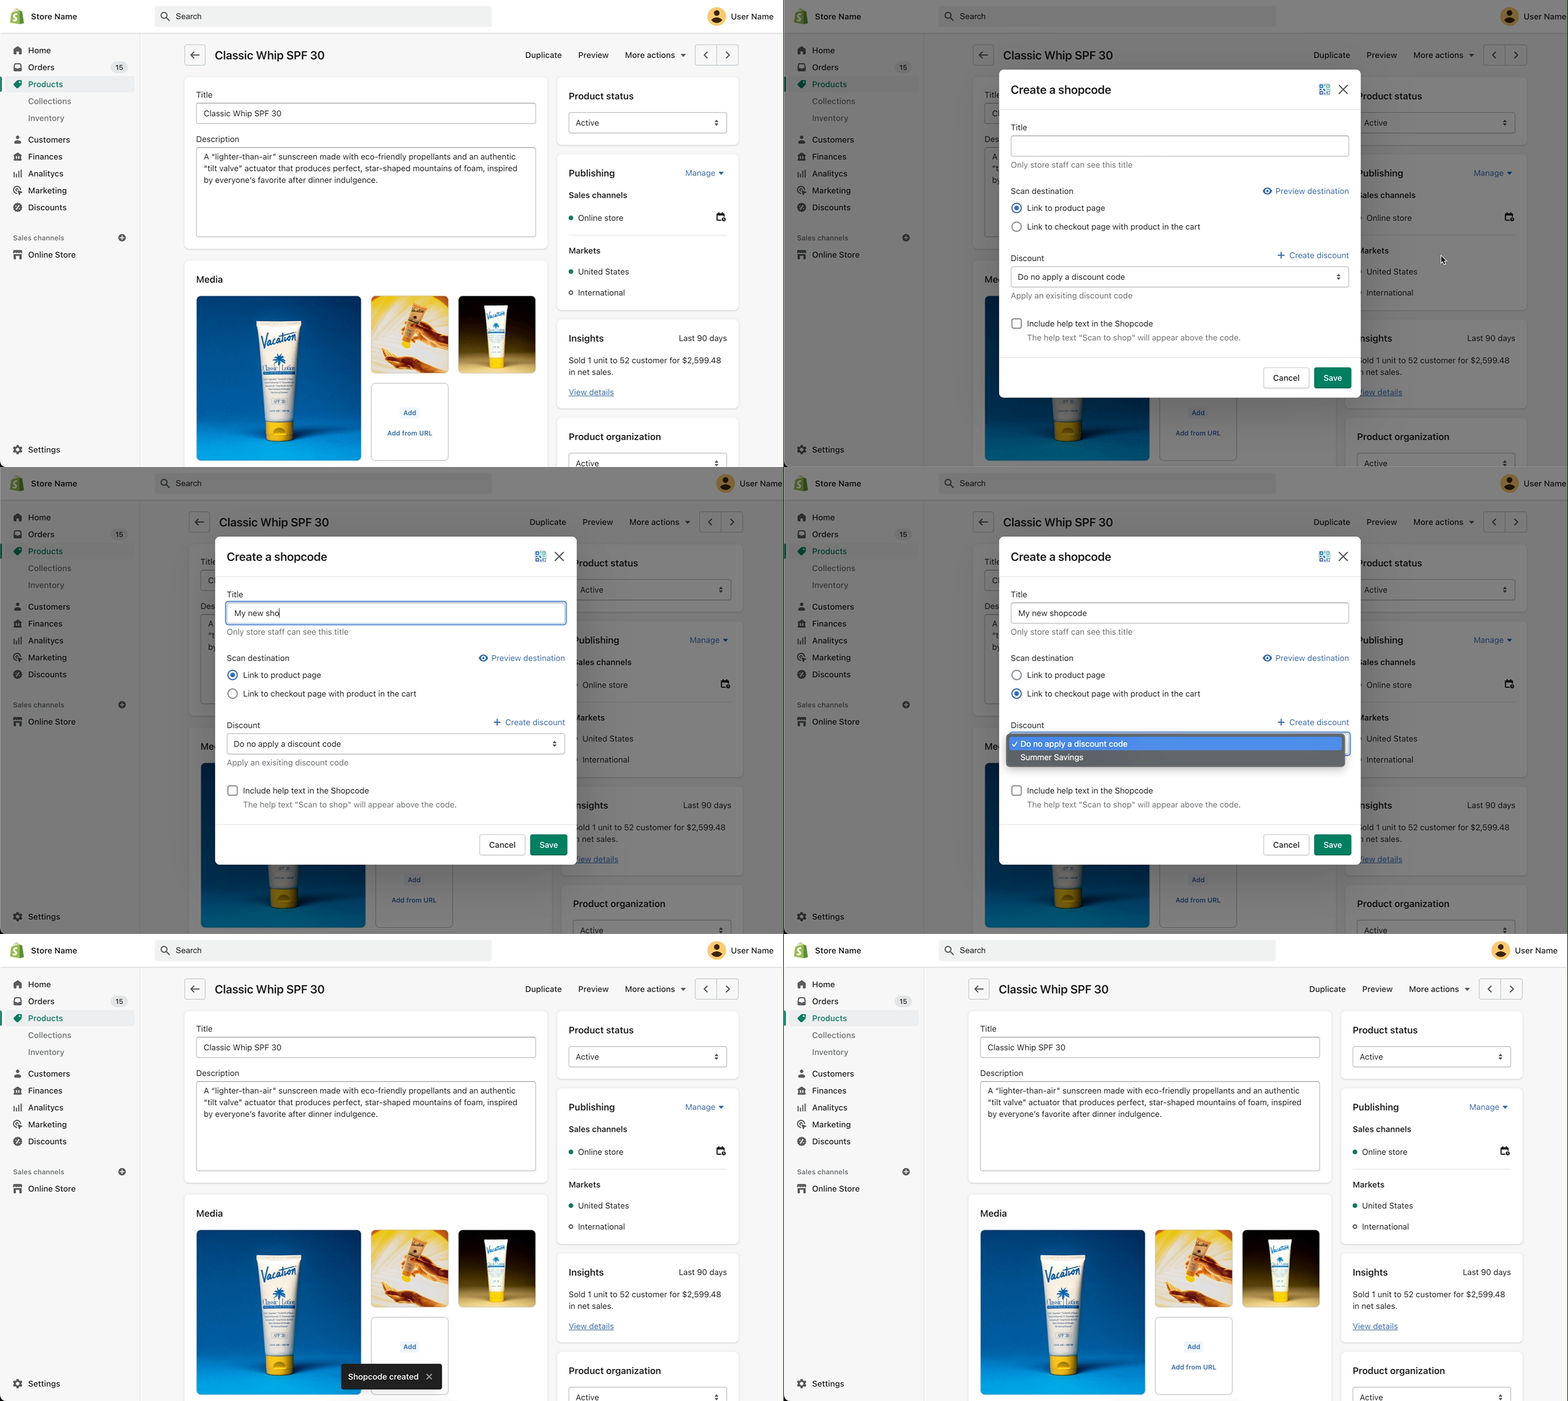
Admin UI extensions make it possible to surface contextual app functionality within the Shopify Admin interface.
## Getting started
Use the [Shopify CLI](https://shopify.dev/docs/api/shopify-cli) to [generate a new extension](https://shopify.dev/apps/tools/cli/commands#generate-extension) within your app.
If you already have a Shopify app, you can skip right to the last command shown here.
Make sure you're using Shopify CLI `v3.85.3` or higher. You can check your version by running `shopify version`.

## Generate an extension
## CLI
```bash
# create an app if you don't already have one:
shopify app init --name my-app
# navigate to your app's root directory:
cd my-app
# generate a new extension:
shopify app generate extension
# follow the steps to create a new
# extension in ./extensions.
```
***
## Optional ESLint configuration
If your app is using ESLint, update your configuration to include the new global `shopify` object.
## .eslintrc.cjs
```js
module.exports = {
globals: {
shopify: 'readonly',
},
};
```
***
## Scaffolded with Preact
UI Extensions are scaffolded with [Preact](https://preactjs.com/) by default.
This means that you can use Preact patterns and principles within your extension. Since Preact is included as a standard dependency, you have access to all of its features including [hooks](https://preactjs.com/guide/v10/hooks/) like `useState` and `useEffect` for managing component state and side effects.
You can also use [Preact Signals](https://preactjs.com/guide/v10/signals) for reactive state management, and take advantage of standard web APIs just like you would in a regular Preact application.
## Scaffolded with Preact
## JSX
```jsx
import '@shopify/ui-extensions/preact';
import {render} from 'preact';
import {useState} from 'preact/hooks';
export default async () => {
render(, document.body);
}
function Extension() {
const [count, setCount] = useState(0);
return (
<>
Count: {count}
setCount(count + 1)}>
Increment
);
}
```
***
## Handling events
Handling events in UI extensions are the same as you would handle them in a web app. You can use the `addEventListener` method to listen for events on the components or use the `on[event]` property to listen for events from the components.
When using Preact, event handlers can be registered by passing props beginning with `on`, and the event handler name is case-insensitive. For example, the JSX `` registers `fn` as a "click" event listener on the button.
## Handling events
## JSX
```jsx
export default function HandlingEvents() {
const handleClick = () => {
console.log('s-button clicked');
};
return Click me;
}
// or
export default function HandlingEvents() {
const handleClick = () => {
console.log('s-button clicked');
};
const button = document.createElement('s-button');
button.addEventListener('click', handleClick);
document.body.appendChild(button);
}
```
***
## Using forms
When building a Block extension you may use the [Form component](https://shopify.dev/docs/api/admin-extensions/latest/components/forms/form) to integrate with the contextual save bar of the resource page. The Form component provides a way to manage form state and submit data to your app's backend or directly to Shopify using Direct API access.
Whenever an input field is changed, the Form component will automatically update the dirty state of the resource page. When the form is submitted or reset the relevant callback in the form component will get triggered.
Using this, you can control what defines a component to be dirty by utilizing the Input's defaultValue property.
Rules:
* When the defaultValue is set, the component will be considered dirty if the value of the input is different from the defaultValue.You may update the defaultValue when the form is submitted to reset the dirty state of the form.
* When the defaultValue is not set, the component will be considered dirty if the value of the input is different from the initial value or from the last dynamic update to the input's value that wasn't triggered by user input.
Note: In order to trigger the dirty state, each input must have a name attribute.
## Trigger the Form's dirty state
##### Using \`defaultValue\`
```tsx
const defaultValues = {
text: 'default value',
number: 50,
};
const [textValue, setTextValue] = useState('');
const [numberValue, setNumberValue] = useState('');
return (
{
event.waitUntil(fetch('app:save/data'));
console.log('submit', {textValue, numberValue});
}}
onReset={() => console.log('automatically reset values')}
>
setTextValue(e.currentTarget.value)}
/>
setNumberValue(e.currentTarget.value)}
/>
);
```
##### Using implicit default
```tsx
import { render } from 'preact';
import { useState } from 'preact/hooks';
export default async () => {
render(, document.body);
}
async function Extension() {
const data = await fetch('/data.json');
const {text, number} = await data.json();
return ;
}
function App({text, number}) {
// The initial values set in the form fields will be the default values
const [textValue, setTextValue] = useState(text);
const [numberValue, setNumberValue] = useState(number);
return (
{
event.waitUntil(fetch('app:data/save'));
console.log('submit', {textValue, numberValue});
}
onReset={() => console.log('automatically reset values')}
>
setTextValue(e.currentTarget.value)}
/>
setNumberValue(e.currentTarget.value)}
/>
);
}
```
***
## Picking resources
Use the Resource Picker and Picker API's to allow users to select resources for your extension to use.
##### Resource Picker
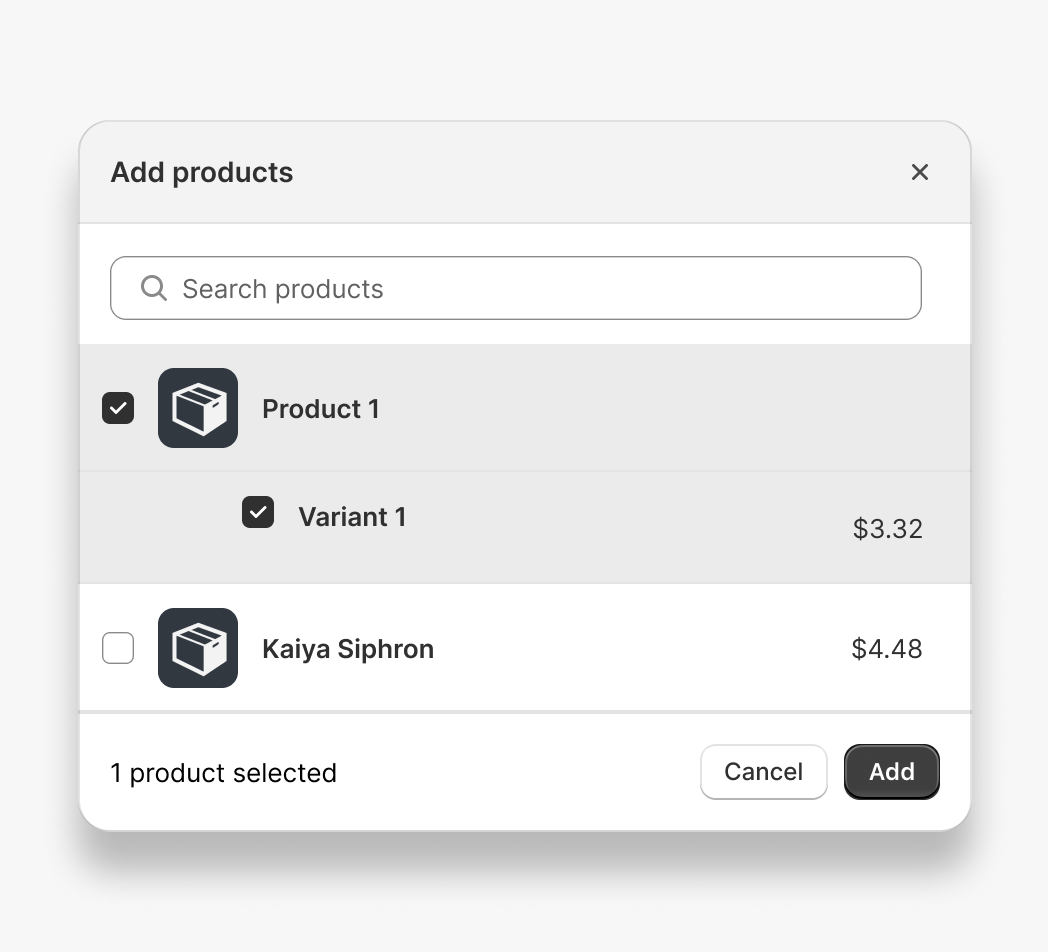
Use the `resourcePicker` API to display a search-based interface to help users find and select one or more products, collections, or product variants, and then return the selected resources to your extension. Both the app and the user must have the necessary permissions to access the resources selected.
##### Picker
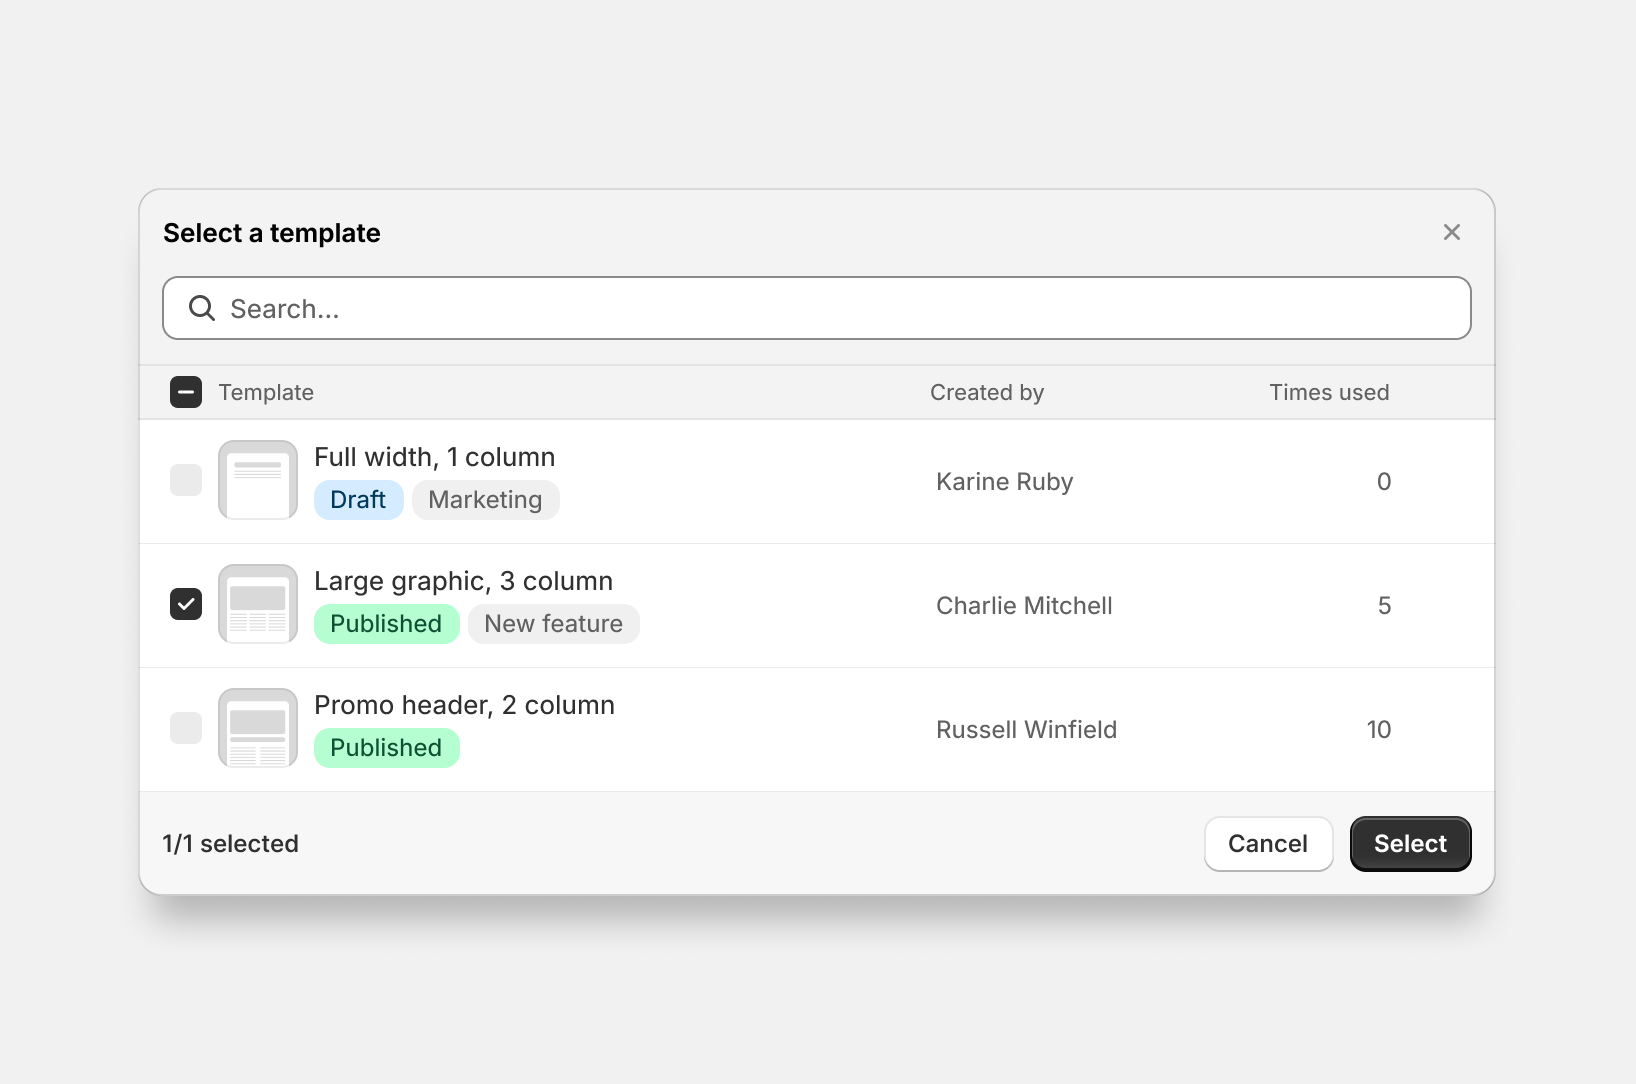
Use the `picker` API to display a search-based interface to help users find and select one or more custom data types that you provide, such as product reviews, email templates, or subscription options.
## resourcePicker
## Selecting a product
```tsx
import { render } from 'preact';
export default async () => {
render(, document.body);
}
function Extension() {
const handleSelectProduct = async () => {
const selected = await shopify.resourcePicker({ type: 'product' });
console.log(selected);
};
return Select product;
}
```

## picker
## Selecting an email template
```tsx
import { render } from 'preact';
export default async () => {
render(, document.body);
}
function Extension() {
const handleSelectEmailTemplate = async () => {
const pickerInstance = await shopify.picker({
heading: 'Select a template',
multiple: false,
headers: [
{ content: 'Templates' },
{ content: 'Created by' },
{ content: 'Times used', type: 'number' },
],
items: [
{
id: '1',
heading: 'Full width, 1 column',
data: ['Karine Ruby', '0'],
badges: [{ content: 'Draft', tone: 'info' }, { content: 'Marketing' }],
},
{
id: '2',
heading: 'Large graphic, 3 column',
data: ['Charlie Mitchell', '5'],
badges: [
{ content: 'Published', tone: 'success' },
{ content: 'New feature' },
],
selected: true,
},
{
id: '3',
heading: 'Promo header, 2 column',
data: ['Russell Winfield', '10'],
badges: [{ content: 'Published', tone: 'success' }],
},
],
});
const selected = await pickerInstance.selected;
console.log(selected);
};
return (
Select email template
);
}
```

***
## Deploying
Use the Shopify CLI to [deploy your app and its extensions](https://shopify.dev/docs/apps/deployment/extension).
## Deploy an extension
## CLI
```bash
# navigate to your app's root directory:
cd my-app
# deploy your app and its extensions:
shopify app deploy
# follow the steps to deploy
```
***
## Tutorials and resources
Deepen your understanding of Admin UI extensions with these tutorials and resources.
[Tutorial - Get started building your first admin extension](https://shopify.dev/docs/apps/admin/admin-actions-and-blocks/build-an-admin-action)
[Component APIs - See all available components](https://shopify.dev/docs/api/admin-extensions/components)
[Reference - View a list of available extension targets](https://shopify.dev/docs/api/admin-extensions/2026-01/extension-targets)
[Network features - Learn about the network features available to admin extensions](https://shopify.dev/docs/api/admin-extensions/2026-01/network-features)
[Using forms - Use the Form component to integrate with the contextual save bar of the resource page](#using-forms)
[Picking resources - Prompt the user to select resources](#picking-resources)
[Figma kit - Use the Figma kit to design your extension](https://www.figma.com/community/file/1554895871000783188/polaris-ui-kit-community)
***