Customize form controls
Checkout forms consist of different UI components for user input, such as checkbox, date picker, and text field.
This guide teaches you how to use the GraphQL Admin API to customize form controls, beyond what you can customize using the checkout editor. In some cases, you'll style form controls using design system tokens.
You'll learn some sample customizations, but you can use what you've learned to make other form control customizations.
You can reset styles to their defaults by writing parent fields to null
with the GraphQL Admin API. Refer to examples of resetting
some
and
all
values to the defaults.
Anchor to What you'll learnWhat you'll learn
In this tutorial, you'll learn how to do the following tasks:
- Retrieve a list of your store's checkout profile IDs.
- Customize the label position and corner radius for all form controls.
- Customize checkboxes to add a distinct corner radius.
- Customize buttons to add inner padding and a distinct corner radius.
Anchor to RequirementsRequirements
- You've created a new development store with the Shopify Plus plan enabled to be able to customize advanced branding.
- You can make authenticated requests to the GraphQL Admin API.
- You've either installed the GraphiQL app on your store or created an app, with the
read_checkout_branding_settingsandwrite_checkout_branding_settingsaccess scopes. - You're using API version
2023-10or higher. - You're familiar with the GraphQL Admin API's branding types.
Anchor to Step 1: Retrieve the store's published checkout profile IDStep 1: Retrieve the store's published checkout profile ID
Checkout styling properties apply to a checkout profile ID. In this step, you'll retrieve the checkout profile to which you'll apply form control changes.
-
Query
checkoutProfilesto retrieve a list of checkout profile IDs.The
is_publishedparameter indicates which checkout profile is currently applied to your store's live checkout.
POST https://{shop}.myshopify.com/api/{api_version}/graphql.json
GraphQL query
JSON response
- Make note of your corresponding ID from the list. You'll supply the ID in subsequent mutations.
Anchor to Step 2: Set the label position and corner radiusStep 2: Set the label position and corner radius
In this step, you'll set the label position and then the corner radius for form controls. For both styles, you'll use the checkoutBrandingUpsert mutation's customizations object and the CheckoutBrandingInput input object.
-
Set the label position.
The following example puts labels outside fields. This keeps field labels visible when users are typing inputs, and improves accessibility.
POST https://{shop}.myshopify.com/api/{api_version}/graphql.json
GraphQL mutation
mutation CustomizingControls($checkoutBrandingInput: CheckoutBrandingInput!, $checkoutProfileId: ID!) {checkoutBrandingUpsert(checkoutBrandingInput: $checkoutBrandingInput, checkoutProfileId: $checkoutProfileId) {checkoutBranding {customizations {control {labelPosition}}}userErrors {fieldmessage}}}Query variables
{"checkoutProfileId": "gid://shopify/CheckoutProfile/YOUR_CHECKOUT_PROFILE_ID_HERE","checkoutBrandingInput": {"customizations": {"control": {"labelPosition": "OUTSIDE"}}}}JSON response
{"data": {"checkoutBrandingUpsert": {"checkoutBranding": {"customizations": {"control": {"labelPosition": "OUTSIDE"}}},"userErrors": []}}} -
Set the corner radius.
POST https://{shop}.myshopify.com/api/{api_version}/graphql.json
GraphQL mutation
mutation CustomizingControls($checkoutBrandingInput: CheckoutBrandingInput!, $checkoutProfileId: ID!) {checkoutBrandingUpsert(checkoutBrandingInput: $checkoutBrandingInput, checkoutProfileId: $checkoutProfileId) {checkoutBranding {customizations {control {cornerRadius}}}userErrors {fieldmessage}}}Query variables
{"checkoutProfileId": "gid://shopify/CheckoutProfile/YOUR_CHECKOUT_PROFILE_ID_HERE","checkoutBrandingInput": {"customizations": {"control": {"cornerRadius": "LARGE"}}}}JSON response
{"data": {"checkoutBrandingUpsert": {"checkoutBranding": {"customizations": {"control": {"cornerRadius": "LARGE"}}},"userErrors": []}}}
Anchor to Step 3: Set the corner radius for checkboxesStep 3: Set the corner radius for checkboxes
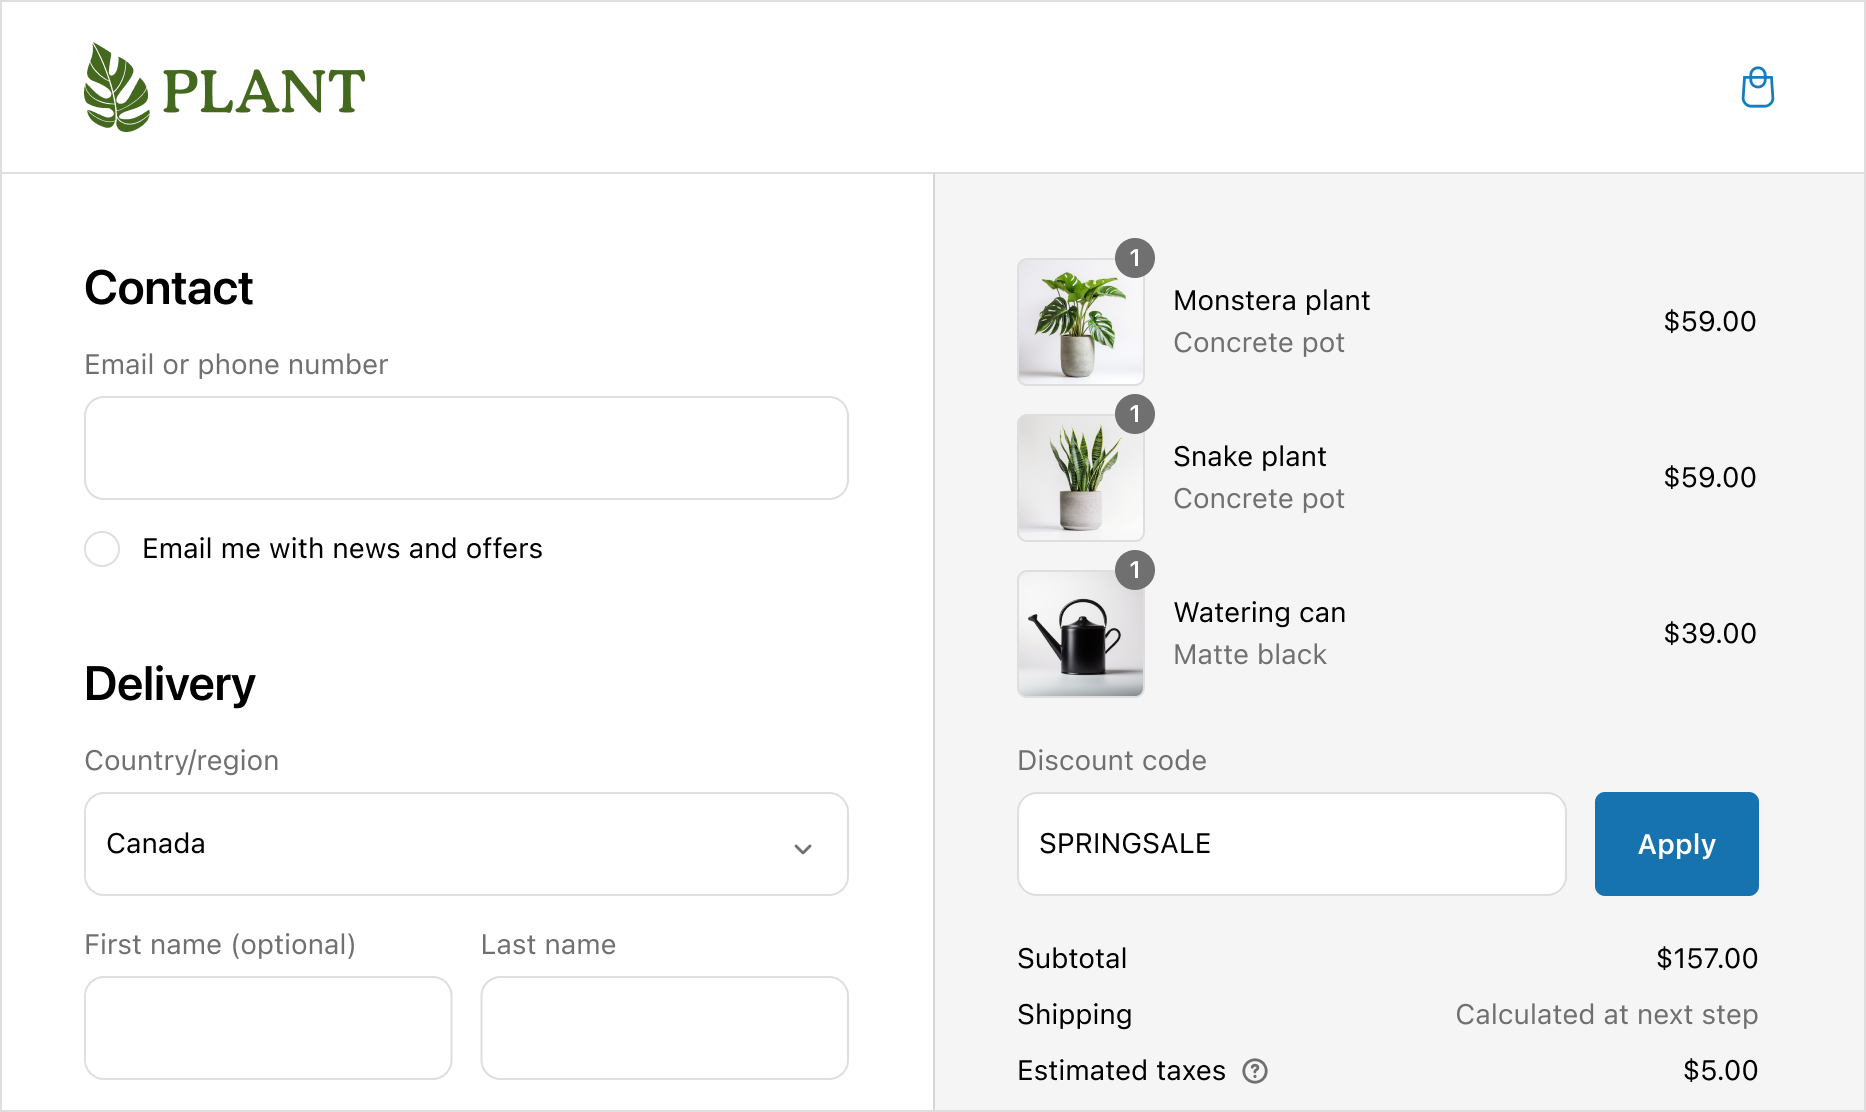
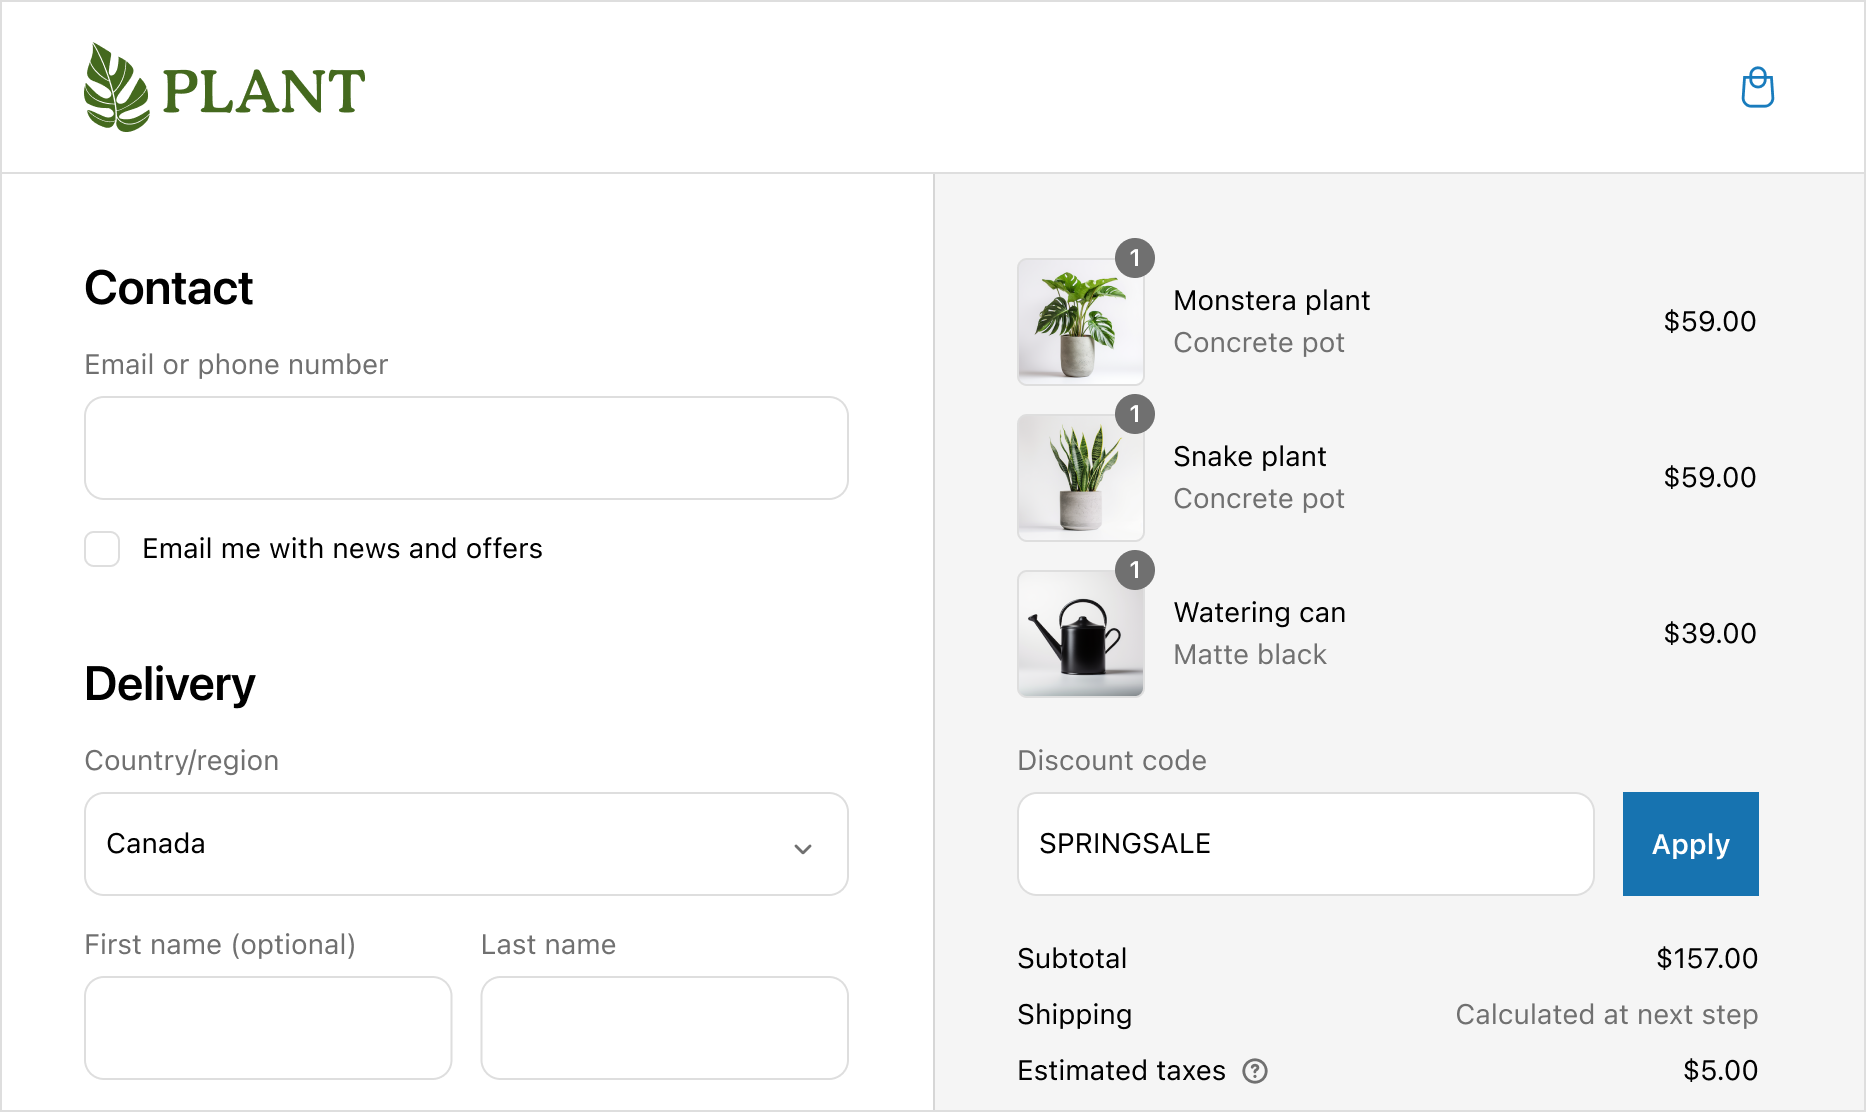
At this point, checkboxes have the corner radius that you set for form controls. However, this style makes the checkboxes look like radio buttons. In this step, you'll adjust the checkbox's corner radius to visually distinguish it as a checkbox and make its function clear.
POST https://{shop}.myshopify.com/api/{api_version}/graphql.json
GraphQL mutation
Query variables
JSON response

The customizations for control don't apply to buttons. In this step, you'll style the corner radius and padding for primary buttons. For both styles, you'll use the checkoutBrandingUpsert mutation's customizations object and the CheckoutBrandingInput input object.
-
Set the corner radius.
The following example shapes the buttons as rectangles with sharp corners, which affects the perceived clickability of the button.
POST https://{shop}.myshopify.com/api/{api_version}/graphql.json
GraphQL mutation
mutation CustomizingControls($checkoutBrandingInput: CheckoutBrandingInput!, $checkoutProfileId: ID!) {checkoutBrandingUpsert(checkoutBrandingInput: $checkoutBrandingInput, checkoutProfileId: $checkoutProfileId) {checkoutBranding {customizations {primaryButton {cornerRadius}}}userErrors {fieldmessage}}Query variables
{"checkoutProfileId": "gid://shopify/CheckoutProfile/YOUR_CHECKOUT_PROFILE_ID_HERE","checkoutBrandingInput": {"customizations": {"primaryButton": {"cornerRadius": "NONE"}}}}JSON response
{"data": {"checkoutBrandingUpsert": {"checkoutBranding": {"customizations": {"primaryButton": {"cornerRadius": "NONE"}}},"userErrors": []}}} -
Set the inline padding.
The following example helps to ensure that the label doesn't touch the button edges, which improves readability and aesthetics.
POST https://{shop}.myshopify.com/api/{api_version}/graphql.json
GraphQL mutation
mutation CustomizingControls($checkoutBrandingInput: CheckoutBrandingInput!, $checkoutProfileId: ID!) {checkoutBrandingUpsert(checkoutBrandingInput: $checkoutBrandingInput, checkoutProfileId: $checkoutProfileId) {checkoutBranding {customizations {primaryButton {inlinePadding}}}userErrors {fieldmessage}}}Query variables
{"checkoutProfileId": "gid://shopify/CheckoutProfile/YOUR_CHECKOUT_PROFILE_ID_HERE","checkoutBrandingInput": {"customizations": {"primaryButton": {"inlinePadding": "BASE"}}}}JSON response
{"data": {"checkoutBrandingUpsert": {"checkoutBranding": {"customizations": {"primaryButton": {"inlinePadding": "BASE"}}},"userErrors": []}}}
Anchor to Next stepsNext steps
- Explore the GraphQL Admin API to learn more about customizing checkout's form controls.