Typography customization
Unique typefaces and other typography customizations enable merchants to showcase their brand's personality and style, and help to create a cohesive experience across the storefront and checkout.
This guide explains how to modify checkout typography using the GraphQL Admin API's checkout branding types and their associated fields. You'll define and use typography tokens within the design system for various elements, and style other elements directly.
You'll learn some sample customizations, but you can use what you've learned to make other typography customizations.
You can reset styles to their defaults by writing parent fields to null
with the GraphQL Admin API. Refer to examples of resetting
some
and
all
values to the defaults.
Anchor to What you'll learnWhat you'll learn
In this tutorial, you'll learn how to do the following tasks:
- Retrieve a list of your store's checkout profile IDs.
- Update the checkout design system typography's base and ratio.
- Apply a Shopify font to checkout's text and buttons.
- Upload a custom font and apply it to checkout headings.
- Customize buttons with a font that's distinct from the text.
- Customize checkout's level one headings with case, weight, and size.
Anchor to RequirementsRequirements
- You've created a new development store with the Shopify Plus plan enabled to be able to customize advanced branding.
- You can make authenticated requests to the GraphQL Admin API.
- You've either installed the GraphiQL app on your store or created an app, with the
read_checkout_branding_settingsandwrite_checkout_branding_settingsaccess scopes. - You're using API version
2023-10or higher. - You're familiar with the GraphQL Admin API's branding types.
- Custom fonts must be in either Web Open Font Format (WOFF) or WOFF2.
- To use licensed fonts legally, stores must have a webfont license.
Anchor to Step 1: Retrieve the store's published checkout profile IDStep 1: Retrieve the store's published checkout profile ID
Checkout styling properties apply to a checkout profile ID. In this step, you'll retrieve the checkout profile to which you'll apply typography changes.
-
Query
checkoutProfilesto retrieve a list of checkout profile IDs.The
is_publishedparameter indicates which checkout profile is currently applied to your store's live checkout.
POST https://{shop}.myshopify.com/api/{api_version}/graphql.json
GraphQL query
JSON response
- Make note of your corresponding ID from the list. You'll supply the ID in subsequent mutations.
Anchor to Step 2: Update the base size and ratio for the design systemStep 2: Update the base size and ratio for the design system
Modifying the base font size and ratio proportionally adjusts associated spacing values, such as margins and padding. This ensures that relative size and space are preserved.
Modifying the base font size and ratio proportionally adjusts associated spacing values, such as margins and padding. This ensures that relative size and space are preserved.
In this step, you'll use the checkoutBrandingUpsert mutation to update the design system's base size. You'll also update the scale ratio that's used to define all font sizes, such as what represents SMALL and LARGE:
POST https://{shop}.myshopify.com/api/{api_version}/graphql.json
GraphQL mutation
Query variables
JSON response
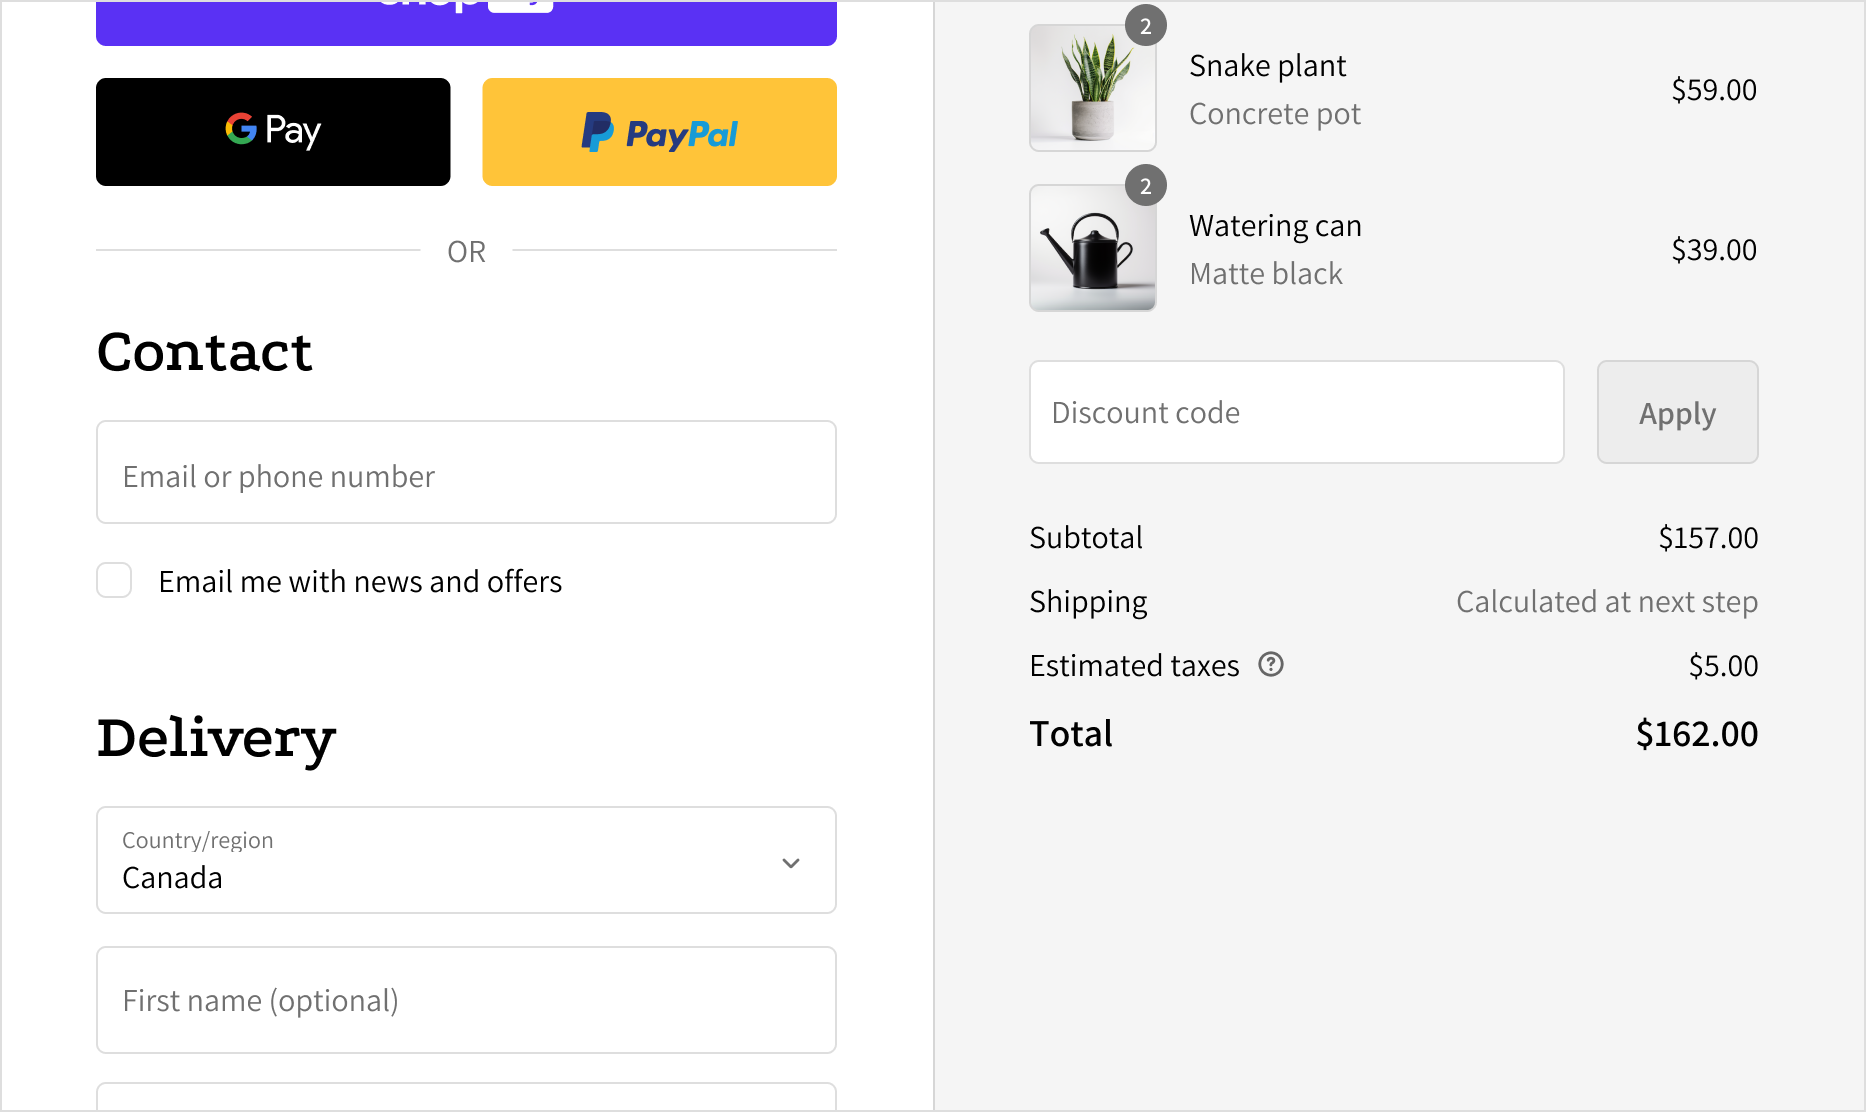
Anchor to Step 3: Apply a Shopify font to primary surfacesStep 3: Apply a Shopify font to primary surfaces
Primary surfaces include text and buttons.
Set the base font for primary surfaces with the checkoutBrandingUpsert mutation. You'll use a selection from the Shopify font library:
POST https://{shop}.myshopify.com/api/{api_version}/graphql.json
GraphQL mutation
Query variables
JSON response
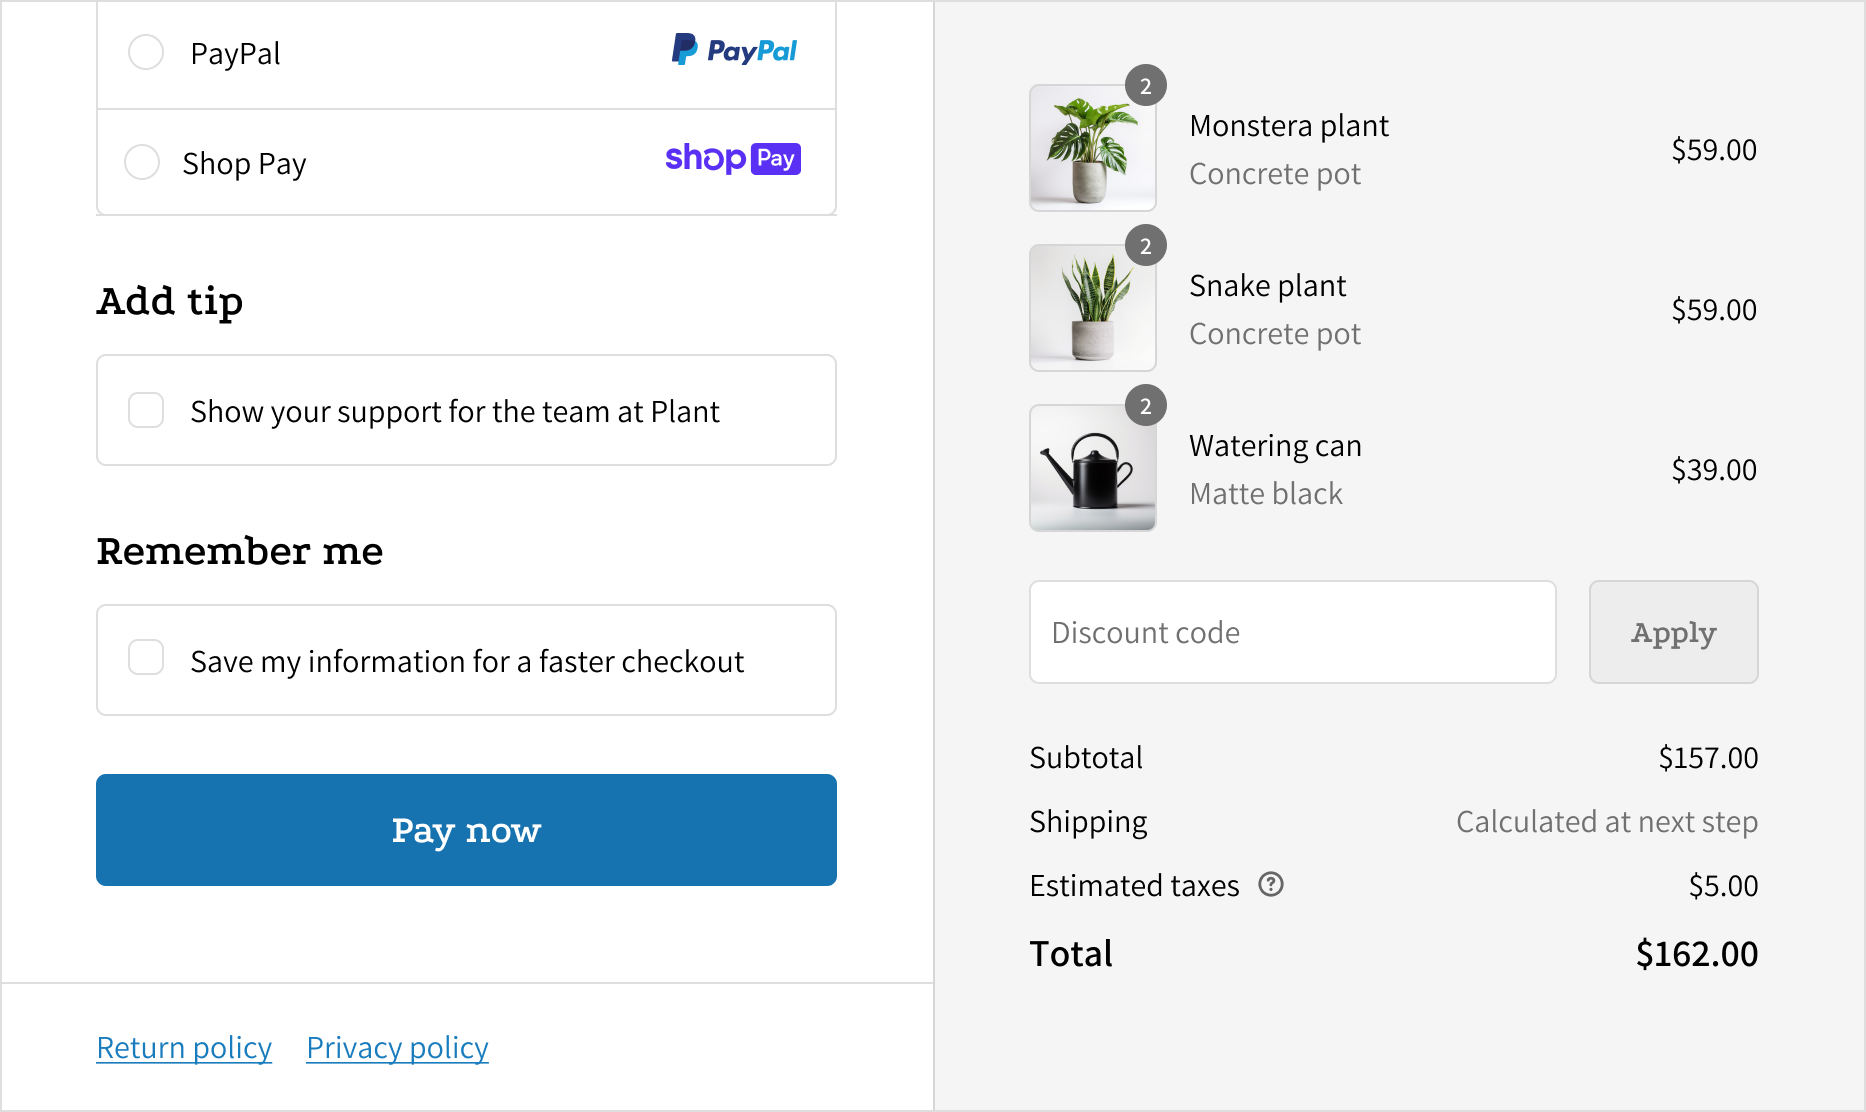
Anchor to Step 4: Apply a custom font to secondary surfacesStep 4: Apply a custom font to secondary surfaces
Secondary surfaces include headings.
In this step, you'll upload a custom font and set it as the base font for headings:
- Upload the custom font using one of the following methods:
- Using the Asset API resource
- Through the Files section of the Shopify admin.
- Retrieve the ID of the generic file using the files query. The following is an example:
POST https://{shop}.myshopify.com/api/{api_version}/graphql.json
Query font files
JSON response
- Update the
checkoutBrandingUpsertmutation with the typography data using theCheckoutBrandingTypographyInputinput object.
Replace YOUR_FILE_ID_HERE with the ID of your uploaded font file.
POST https://{shop}.myshopify.com/api/{api_version}/graphql.json
GraphQL mutation
Query variables
JSON response
Fonts are a separate resource that need to be downloaded by the browser before any text is rendered, which impacts the checkout's overall performance. To optimize the checkout for performance, consider using a system font or a font from the Shopify font library rather than a custom font.
To avoid long font load times impacting the checkout experience, use the loadingStrategy property to set how a font face is displayed based on whether and when it's downloaded and ready to use. To learn more, refer to the MDN documentation of the font-display descriptor.
Now you'll update the primary button typography to match what you set for secondary surfaces, using the checkoutBrandingUpsert mutation's customizations object:
POST https://{shop}.myshopify.com/api/{api_version}/graphql.json
GraphQL mutation
Query variables
JSON response
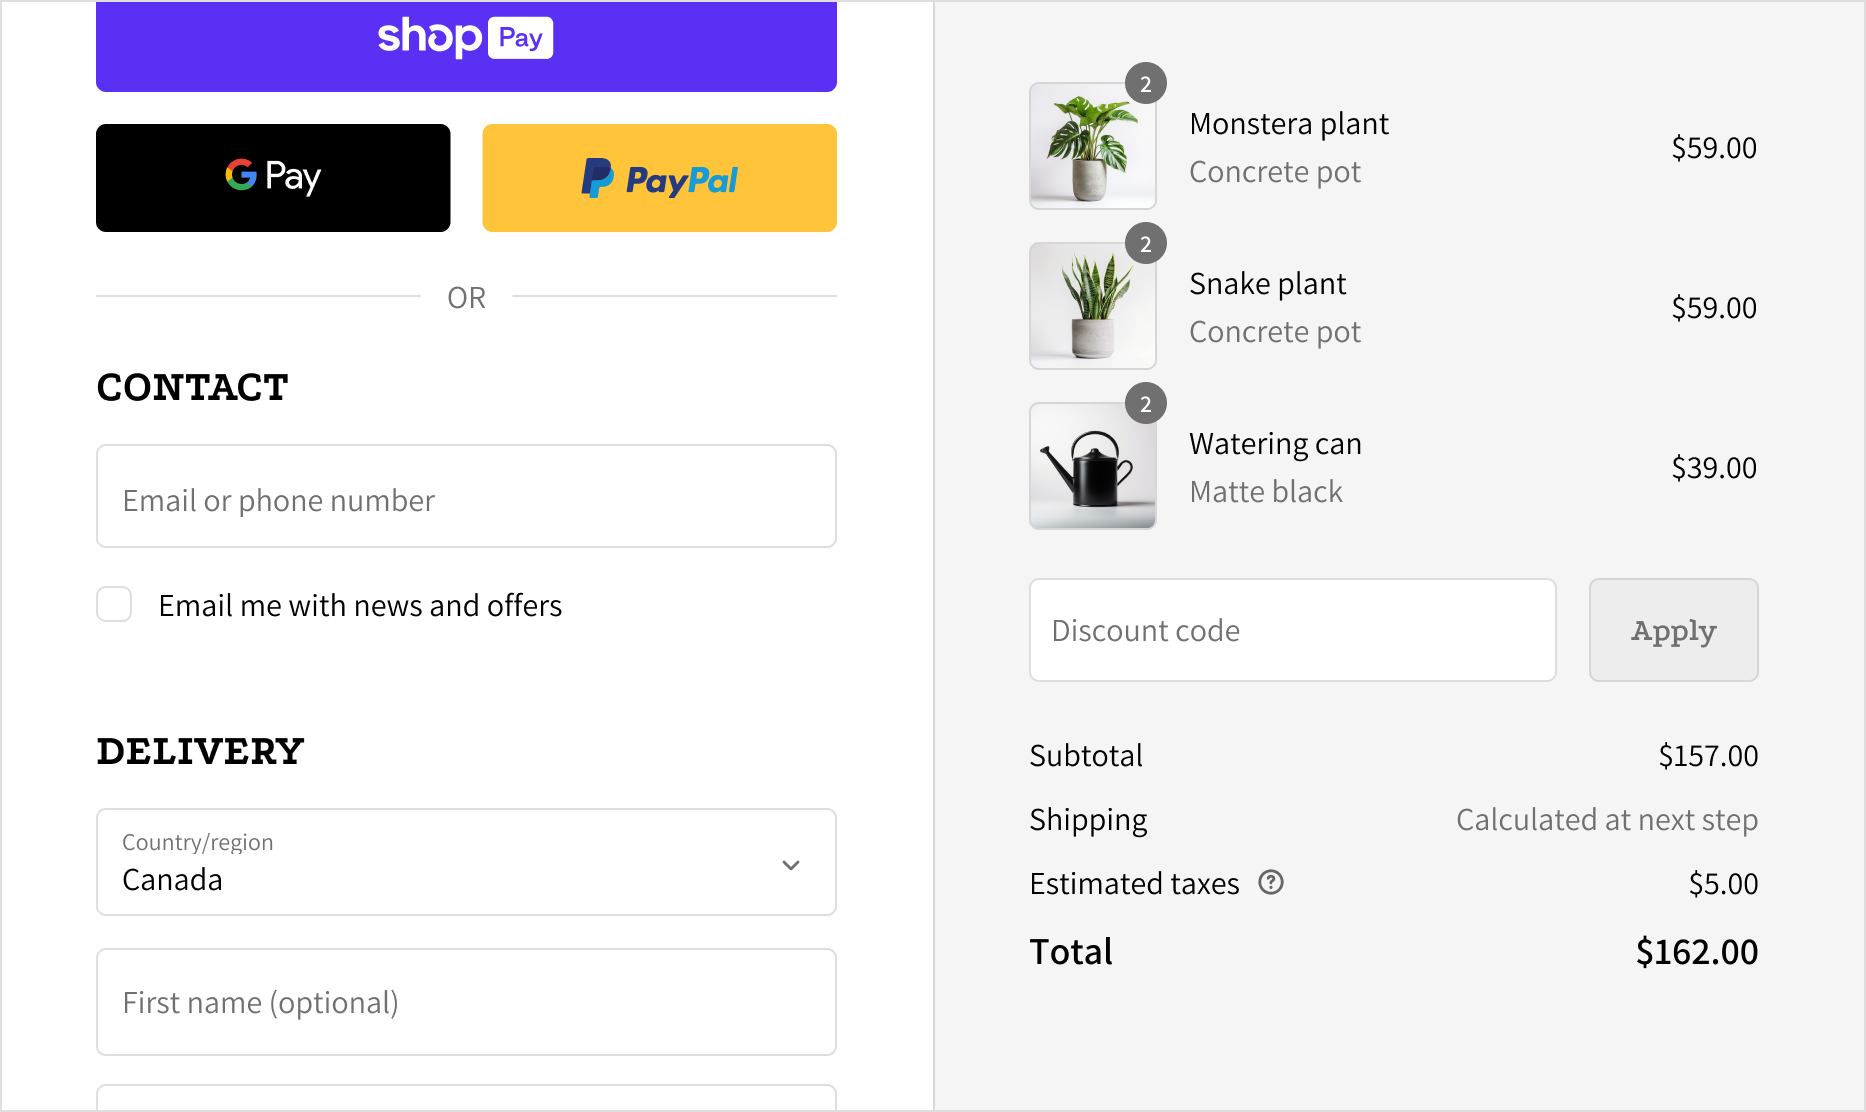
Anchor to Step 6: Style level one headingsStep 6: Style level one headings
Now you'll use the checkoutBrandingUpsert mutation's customizations object to style the level one heading typography.
The following example sets the font to large, relative to the base size and ratio, in uppercase and bold:
POST https://{shop}.myshopify.com/api/{api_version}/graphql.json
GraphQL mutation
Query variables
JSON response
Anchor to Next stepsNext steps
- Explore the GraphQL Admin API to learn more about customizing checkout's typography.