Develop your hosted payment gateway integration
Starting April 30, 2022, new users can no longer install your legacy Hosted Payment SDK (HPSDK) integrations. Your new payments app should be launched by this time to ensure that there's no disruption with new user onboarding. Existing users will have until July 31, 2022 to switch to your payments app. In early May 2022, Shopify will contact impacted users who haven't migrated to the new platform to help them adopt an alternative payments app and avoid payment processing disruptions. After July 31, 2022, all HPSDK integrations will be deprecated.
Starting April 30, 2022, new users can no longer install your legacy Hosted Payment SDK (HPSDK) integrations. Your new payments app should be launched by this time to ensure that there's no disruption with new user onboarding. Existing users will have until July 31, 2022 to switch to your payments app. In early May 2022, Shopify will contact impacted users who haven't migrated to the new platform to help them adopt an alternative payments app and avoid payment processing disruptions. After July 31, 2022, all HPSDK integrations will be deprecated.
To learn more about the HPSDK deprecation, and how to migrate to Payments Platform, refer to Hosted Payment SDK overview.
To learn more about the HPSDK deprecation, and how to migrate to Payments Platform, refer to Hosted Payment SDK overview.
Learn more about the new payments platform.
Learn more about the new payments platform.
The Hosted Payment SDK helps you connect an existing hosted payment page to a Shopify store. Shopify checkout redirects visitors to the payment page that you provide using predefined request values. After the visitor completes the payment, they are redirected back to Shopify with predefined response values and an Order status page is displayed.
It is the responsibility of the payment gateway provider to build a page that handles these requests.
Anchor to Hosted Payment SimulatorHosted Payment Simulator
A hosted payment simulator built in Sinatra is available here. Follow the instructions available on the GitHub repository or below to test the simulator. This should give you a good idea of how Hosted Payment integrations work.
Anchor to Using the Hosted Payment SimulatorUsing the Hosted Payment Simulator
To run a test transaction with the Hosted Payment Simulator:
-
Add a payment gateway or change the "Redirect URL" of your gateway to
https://offsite-gateway-sim.shopifycloud.com/. -
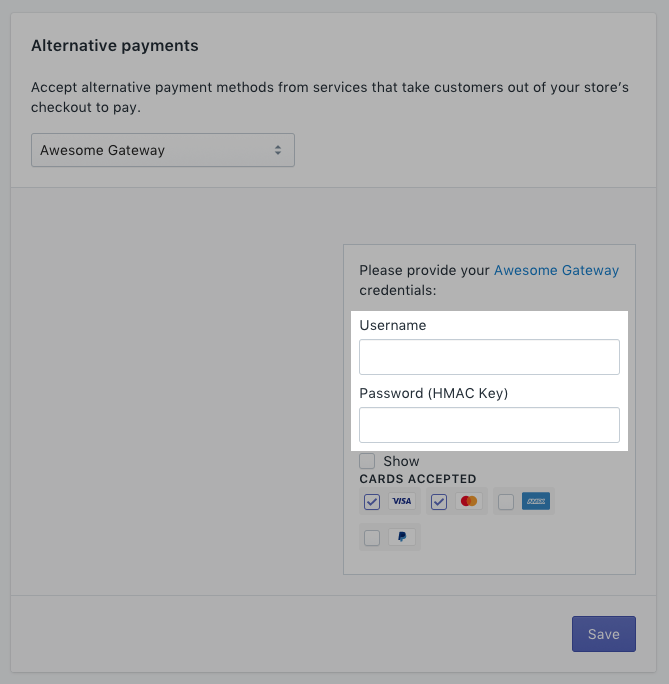
Your gateway will now be available in your dev store (see "Creating a dev store") under the Credit Cards drop-down list or Alternative Gateways drop-down list. Find it and activate it using these credentials:
- Username - any non-empty value
- Password / HMAC Key - iU44RWxeik
This gateway will now be available in your dev store Shopify Checkout and will redirect customers to
https://offsite-gateway-sim.shopifycloud.com/. -
Complete a test purchase on your shop. If you don't have any products in your test store, then you might need to add one before you can complete a test purchase.
At the end of checkout you should be redirected to the simulator. This will let you get familiar with the various redirects and callback.
Anchor to Gateway signing mechanismGateway signing mechanism
All requests and responses must be signed/verified using HMAC-SHA256 where:
-
keyis a value known to both the Shopify merchant and you. This is typically the "Password" field for the merchant. -
messageis a string of all key-value pairs that start withx_prefix, sorted alphabetically, and concatenated without separators.
Resulting codes must be hex-encoded and passed as value of x_signature. Make sure to use case-insensitive comparison when verifying the provided x_signature values.
Resulting codes must be hex-encoded and passed as value of x_signature. Make sure to use case-insensitive comparison when verifying the provided x_signature values.
Assuming your HMAC key is "iU44RWxeik", the signing mechanisms would look like this:
A working example of HMAC-SHA256 signing is available in our Hosted Payment Simulator GitHub repository.
If your integration looks like it is working, you can now add your payment gateway to your Shopify Partners account before publishing it.