Templates
Templates control what's rendered on each type of page in a theme.
Each page type in an online store has an associated template type. You can use the template to add functionality that makes sense for the page type. For example, to render a product page, the theme needs at least one template of type product. Similarly, to render a metaobject page, the theme needs at least one template of type metaobject/{metaobject-type}, for example: metaobject/book or metaobject/author, depending on the type of metaobject definition.
You can create multiple versions of the same template type to create custom templates for different use cases. For example, you can create a separate product template for outerwear products, or a separate page template for pages with video content.
Anchor to JSON vs. LiquidJSON vs.
There are two different file types you can use for a theme template: JSON and Liquid. These template file types can be used to build multiple template types, each of which represents a type of content in a merchant's online store.
| Type | Description |
|---|---|
| JSON | JSON templates are data files with the .json file extension. These templates let you easily populate your template with content from sections. Sections can be added, removed, or rearranged by merchants using the theme editor.If you're using a JSON template, then any HTML or Liquid code needs to be included in a section that's referenced by the template. To learn more, refer to JSON templates. |
| Liquid | Liquid templates are Liquid markup files, with the .liquid file extension. You can add Liquid and HTML directly to Liquid templates.To learn more, refer to Liquid templates. |
Anchor to Choosing JSON vs LiquidChoosing JSON vs Liquid
If you want to use sections in a template, then you should use a JSON template.
JSON templates provide more flexibility for merchants to add, remove, and reorder sections, including app sections. Additionally, they minimize the amount of data in settings_data.json. Instead, data is stored directly in the template, which improves the performance of the theme editor.
Anchor to Template typesTemplate types
Each available template type represents a type of content in a merchant's online store. No template types are required. However, you must have a matching template for any page type that you want to render. For example, to render a product page, you need at least one template of type product.
You can have a maximum of 1000 JSON templates in your theme, across all template types. For example, if you have 20 JSON product templates, 10 JSON page templates, and 5 JSON collection templates, then you can add up to 965 additional templates to the theme.
You can use the following template types in your theme. To learn more about each template type, click on the template name.
| Type | Description |
|---|---|
| 404 | Renders page content that is shown to customers if they enter an invalid URL for the store. |
| agents.md.liquid | Renders the agents.md file, which is hosted at the /agents.md URL. This file is the canonical, agent-facing description of the store, telling AI agents how to discover and transact with it.This must be a Liquid template. |
| article | Renders the article page, which contains the full content of the article, as well as an optional comments section for customers. This template is used for items like individual posts in a blog. |
| blog | Renders the blog page, which lists all articles within a blog. |
| cart | Renders the /cart page, which provides an overview of the contents of a customer’s cart. |
| collection | Renders the collection page, which lists all products within a collection. |
| gift_card.liquid | Renders the gift card page, which displays the gift card issued to a customer upon purchase. This must be a Liquid template. |
| index | Renders the home page of the store, located at the root URL (/). |
| list-collections | Renders the collection list page, which lists all the store's collections. This page is located at the /collections URL of the store. |
| llms-full.txt.liquid | Renders the llms-full.txt file, hosted at the /llms-full.txt URL. An alternate agent-discovery URL that mirrors /agents.md by default.This must be a Liquid template. |
| llms.txt.liquid | Renders the llms.txt file, hosted at the /llms.txt URL. An alternate agent-discovery URL that mirrors /agents.md by default.This must be a Liquid template. |
| page | Renders the shop’s pages, such as About us and Contact us. |
| password | Renders the /password page, which is a landing page shown when you add password protection to your online store. This page includes a message that is editable by merchants, and the password form for customers to gain access to the store. |
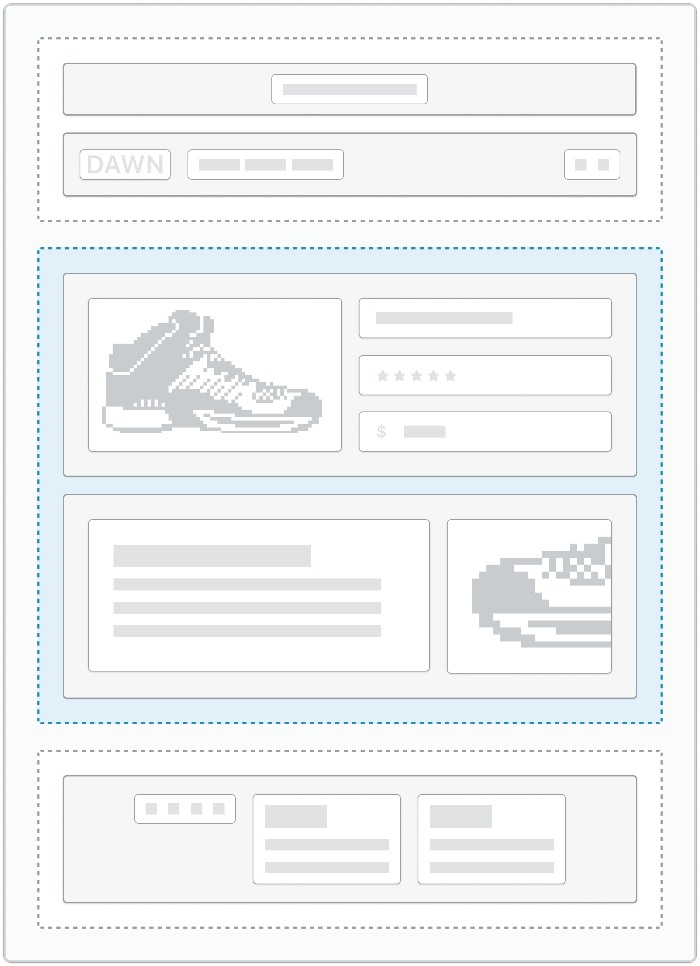
| product | Renders the product page, which contains a product's media and content, as well as a form for customers to select a variant and add it to the cart. |
| robots.txt.liquid | Renders the robots.txt file, which is hosted at the /robots.txt URL. This file tells search engines which pages can, or can't, be crawled on a site.This must be a Liquid template. |
| search | Renders the /search page, which displays the results of a storefront search. |
| metaobject | Renders metaobject pages, such as “artists” or “authors”. To render each metaobject entry as an individual page, the metaobject definition must have the web page capability. |
The gift_card, robots.txt, agents.md, llms.txt, and llms-full.txt templates can't be JSON templates, so you must make them Liquid templates. Other template types support either template file type.
The gift_card, robots.txt, agents.md, llms.txt, and llms-full.txt templates can't be JSON templates, so you must make them Liquid templates. Other template types support either template file type.
Anchor to Legacy customer account templatesLegacy customer account templates
Legacy customer account templates are deprecated. Customer accounts now operate independently of themes, and the following templates no longer need to be included in your theme:
- customers/account
- customers/activate_account
- customers/login
- customers/order
- customers/register
- customers/reset_password
- customers/addresses
Publishing a theme without these templates automatically upgrades merchants to the latest customer accounts experience, which operates independently of themes. Learn more about customer accounts.
Instead, add the <shopify-account> component to your theme header so customers can sign in without leaving the storefront, or navigate to account pages. It's fully integrated with customer accounts and offers styling controls to match your theme.
Anchor to LocationLocation
Template files are located in the templates directory of the theme:
Anchor to ContentContent
The content that you can include in a template depends on whether it is a JSON template or a Liquid template.
You should always keep the goal of the template type in mind when deciding what content you want to include in a template. For example, a product template, or a section in the product template, should always include the product object, which renders product details, and the product form tag, which lets customers add a product variant to the cart. Depending on your template type and approach, you might want to include these items in a section that you reference in the template.