password
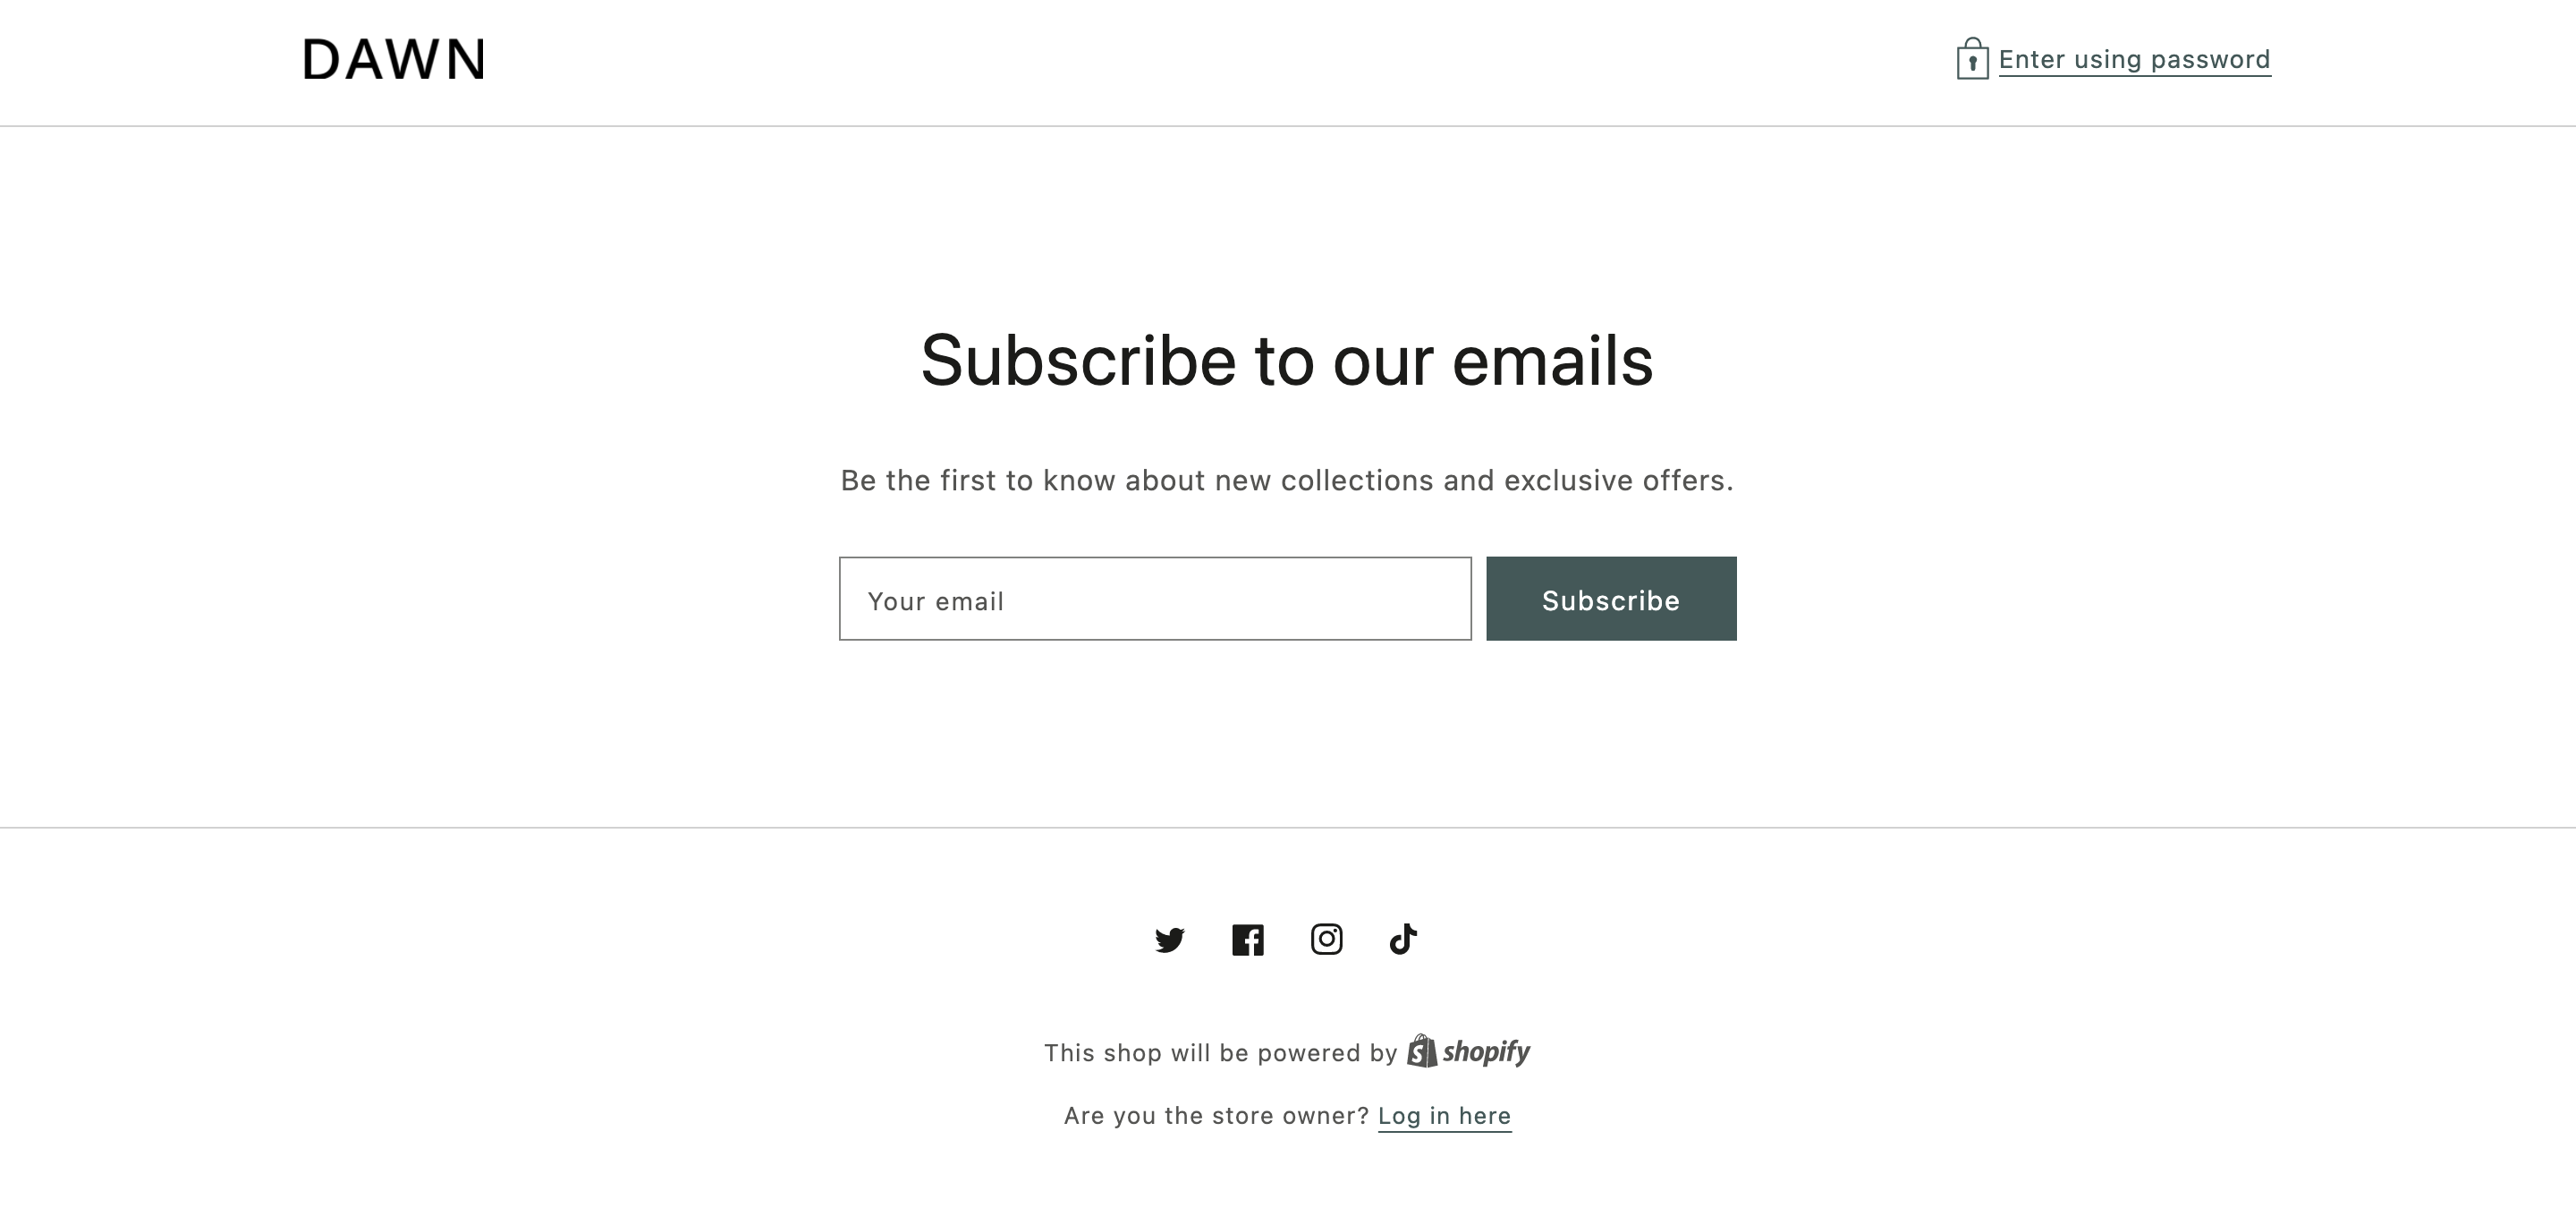
The password template renders the password page, which is a landing page that's shown when password protection is applied to a store. This page includes a message that is editable by merchants, and the password form for customers to gain access to the store.
Refer to the password template and its sections in Dawn for an example implementation.
Refer to the password template and its sections in Dawn for an example implementation.
Anchor to LocationLocation
The password template is located in the templates directory of the theme:
Anchor to ContentContent
You can include the following in your password template or a section inside of the template:
If you're using a JSON template, then any HTML or Liquid code needs to be included in a section that's referenced by the template.
If you're using a JSON template, then any HTML or Liquid code needs to be included in a section that's referenced by the template.
Anchor to The password messageThe password message
When password protection is enabled on a store, there's also the option to include a message. This message can be shown using the password_message attribute of the Liquid shop object:
Example
Anchor to The password formThe password form
The password form can be added with the Liquid form tag and accompanying 'storefront_password' parameter. Within the form tag block, you need to include an <input /> with the following attributes:
-
type="password" -
name="password"For example:
Anchor to The email sign-up formThe email sign-up form
You can include an email sign-up form, to capture customer emails, with the Liquid form tag and accompanying 'customer' parameter. Within the form tag block, you need to include the following:
| Input | type | name | value |
|---|---|---|---|
| Tags | hidden | contact[tags] | prospect, password page |
email | contact[email] | - |
For example:
Shopify assists merchants in marketing to customers created with the prospect and password page tags, but you can use your own custom tags as well.
Shopify assists merchants in marketing to customers created with the prospect and password page tags, but you can use your own custom tags as well.
Anchor to UsageUsage
If you're working on a development store, then you can't show a custom password page on the store. A development store-specific password page is always displayed.
The customizable password page isn't used to control access to your dev store, but you can view it after you log in and edit it from the Shopify admin.
To view the customizable password page, logged-in visitors can navigate to https://your-store-name.myshopify.com/password, where your-store-name is the name of the dev store.