---
title: cart
description: >-
Learn about the Shopify theme blog template, which provides an overview of the
contents of a customer’s cart.
source_url:
html: 'https://shopify.dev/docs/storefronts/themes/architecture/templates/cart'
md: 'https://shopify.dev/docs/storefronts/themes/architecture/templates/cart.md'
---
# cart
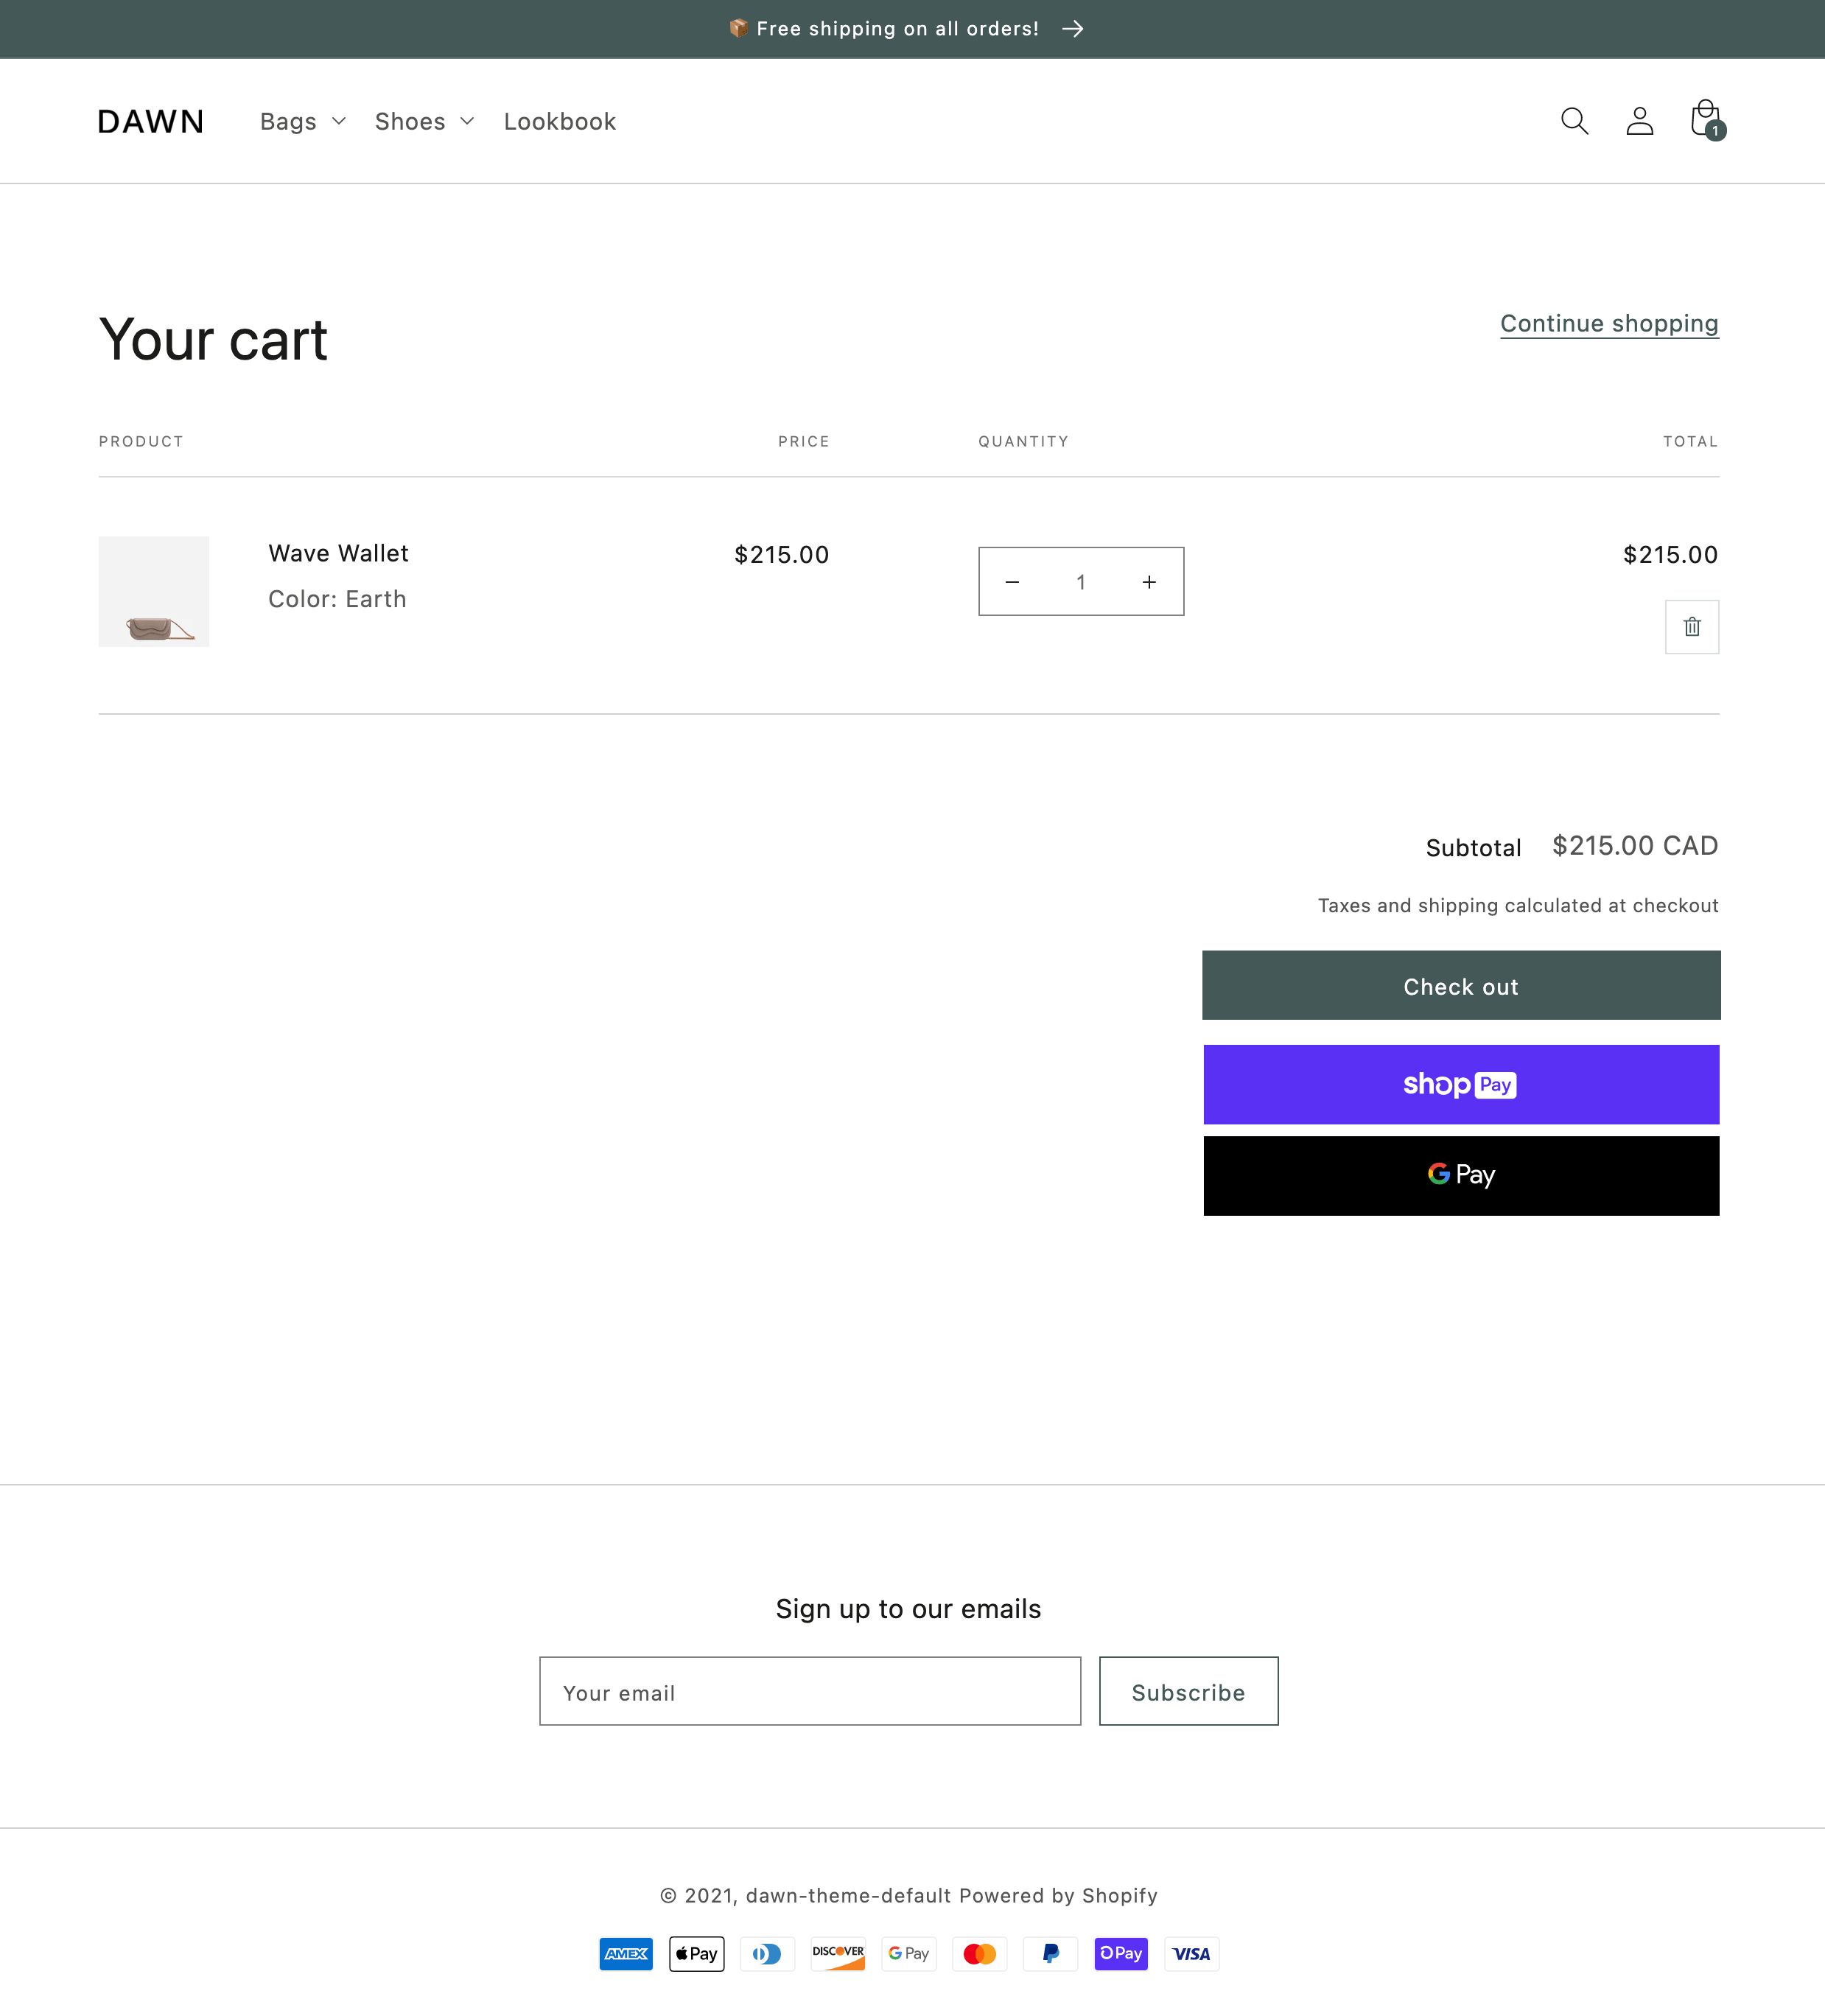
The `cart` template renders the `/cart` page, which provides an overview of the contents of a customer’s cart. The overview is typically shown in a table format with a row for each line item.
**Tip:**
Refer to the [cart template](https://github.com/Shopify/dawn/blob/main/templates/cart.json), its [items section](https://github.com/Shopify/dawn/blob/main/sections/main-cart-items.liquid), and its [footer section](https://github.com/Shopify/dawn/blob/main/sections/main-cart-footer.liquid) in Dawn for an example implementation.

***
## Location
The `cart` template is located in the `templates` directory of the theme:
```text
└── theme
├── layout
├── templates
| ...
| ├── cart.json
| ...
...
```
***
## Content
You should include the [cart object](#the-cart-object) in your `cart` template or a section inside of the template.
### The cart object
You can access the Liquid [`cart` object](https://shopify.dev/docs/api/liquid/objects/cart) to display the cart details.
***
## Usage
When working with the `cart` template, you should familiarize yourself with the following:
* [Using cart line items](#cart-line-items)
* [Letting customers proceed to checkout from the cart](#proceed-to-checkout)
* [Providing an option to remove line items from the cart](#remove-line-items-from-the-cart)
* [Updating line item quantities](#update-line-item-quantities)
* [Showing discounts](#show-cart-and-line-item-discounts)
* [Using cart notes and attributes](#support-cart-notes-and-attributes)
* [Displaying line item properties in the cart](#display-line-item-properties)
**Tip:**
If you're using a JSON template, then any HTML or Liquid code needs to be included in a [section](https://shopify.dev/docs/storefronts/themes/architecture/sections) that's referenced by the template.
### Cart line items
A [line\_item](https://shopify.dev/docs/api/liquid/objects/line_item) is a single line in a shopping cart that records which variant of a product was added, and the associated quantity. For example, if a customer adds both a `size medium` and `size large` of the same `t-shirt` to their cart, then each t-shirt has its own line item.
The `cart` template should include a table where each line item has a row:
## Example
```liquid
{% for item in cart.items %}
{% endfor %}
```
### Proceed to checkout
To let customers proceed to checkout from the cart, you need to output the cart line items inside a `
```
### Remove line items from the cart
You should give customers the option to remove a line item from their cart. You can do this by including an `` element with each line item, whose `href` attribute references the `url_to_remove` attribute of the [line\_item object](https://shopify.dev/docs/api/liquid/objects/line_item):
## Example
```liquid
{% for item in cart.items %}
Remove
{% endfor %}
```
**Tip:**
Refer to the [Cart API](https://shopify.dev/docs/api/ajax/reference/cart#post-locale-cart-change-js) to learn more about changing the cart using JavaScript.
### Update line item quantities
You should give customers the option to update line item quantities in their cart. You can do this by including an `` element with each line item that has the attributes of `name="updates[]"` and `value="{{ line_item.quantity}}"`:
## Example
```liquid
{% for item in cart.items %}
{% endfor %}
```
To actually trigger an update when a quantity input is changed, you can include an `` with an attribute of `type="submit"` in the cart `