Create the UI for a pre-order and Try Before You Buy (TBYB) app
Previously, you set up the foundation of your app. You're now ready to add app components that can help merchants create their pre-orders.
On the app page, you want to add functionality that enables merchants to do the following tasks:
- Set the pre-order name
- Configure the delivery, inventory, and billing policies for the pre-order
- Select products that will have the pre-order
You'll use Polaris and App Bridge to build the user interface. You'll use GraphQL Admin API mutations and queries to create and retrieve pre-orders.
At the end of this tutorial, you'll have an understanding on how to create pre-orders. This app will be simple, but you'll learn where to find resources to build more complex features on your own.
The sample app in this tutorial is assigned with a PRE_ORDER category. When you create your own app, you can assign a category based on the app's purpose. For more information, refer to Selling plans category.
The sample app in this tutorial is assigned with a PRE_ORDER category. When you create your own app, you can assign a category based on the app's purpose. For more information, refer to Selling plans category.
Anchor to What you'll learnWhat you'll learn
In this tutorial, you'll learn how to do the following tasks:
- Add new routes to your app's server that call the Shopify Admin API
- Add UI to create a pre-order
- Test your app on a dev store
This tutorial is not intended to give you a full example on how to build a pre-order application, but more a reference starter.
Anchor to RequirementsRequirements
- Complete the Getting started tutorial to set up the foundation of your app.
- Familiarize yourself with selling plans and pre-orders and try before you buy.
Anchor to Step 1: Create the pre-order creation routeStep 1: Create the pre-order creation route
Create a file app.create.jsx under app/routes. This file will create the route /app/create that will let you create a pre-order.
app/routes/app.create.jsx
Create pre-order route
This code creates a basic form to create pre-orders. The form includes fields for:
- Pre-order title
- Start date
- End date
- Product ID
- Variant ID
When submitted, it will:
- Validate that all required fields are present
- Create a new pre-order record in the database
- Show success/error messages accordingly
For now, we're using simple text inputs for product and variant IDs. In a later step, we'll add proper product selection using the Shopify API.
For now, we're using simple text inputs for product and variant IDs. In a later step, we'll add proper product selection using the Shopify API.
Anchor to Step 2: Create app componentsStep 2: Create app components
Create the following app components:
We recommend keeping your app component files in the app/components folder.
We recommend keeping your app component files in the app/components folder.
Anchor to Create the name componentCreate the name component
Create a component that enables merchants to set the pre-order name. The name component includes the following Polaris components:

In your app/routes/app.create.jsx file, add the following code:
app/routes/app.create.jsx
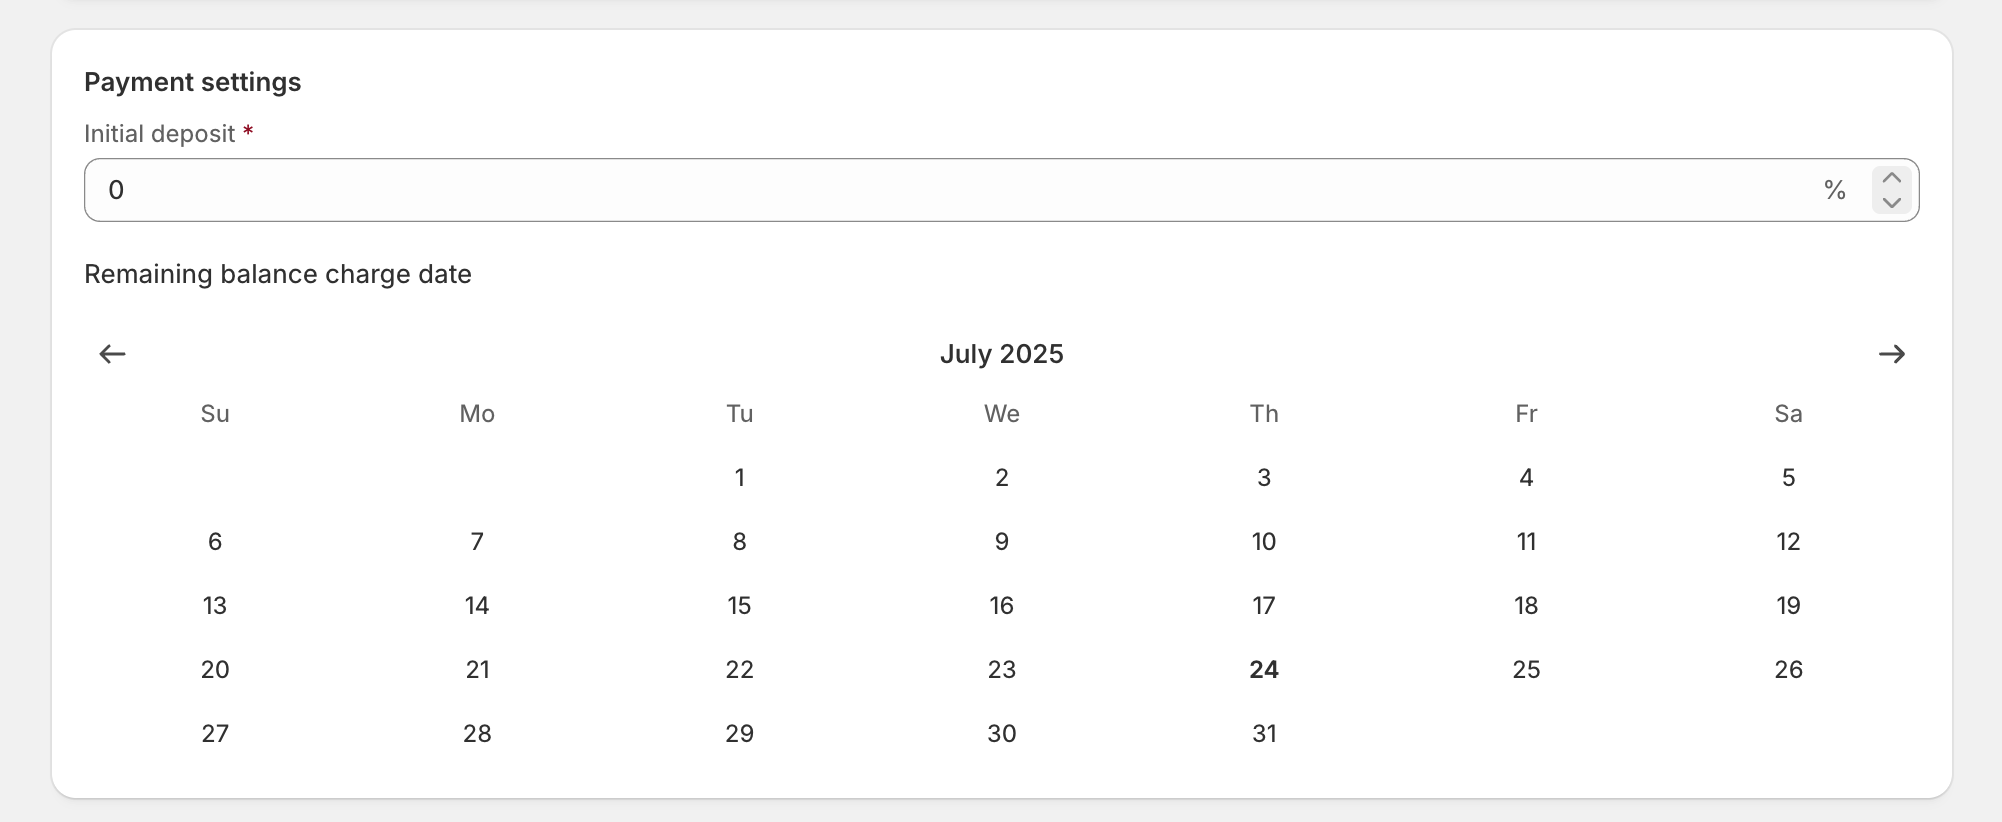
Anchor to Create the checkout charge componentCreate the checkout charge component
When merchants create a pre-order, they can decide the initial charge when customers check out. The type of charge can be set with a PERCENTAGE or PRICE type. Learn more about selling plan checkout charge types and selling plan checkout charge values.
The checkout charge component includes the following Polaris components:
In the app/components folder, create the file checkoutCharge.jsx.
app/components/CheckoutCharge.jsx
Anchor to Create the product picker componentCreate the product picker component
Create a component that enables merchants to select products that will have the pre-order. The product selection component includes the Resource Picker API.
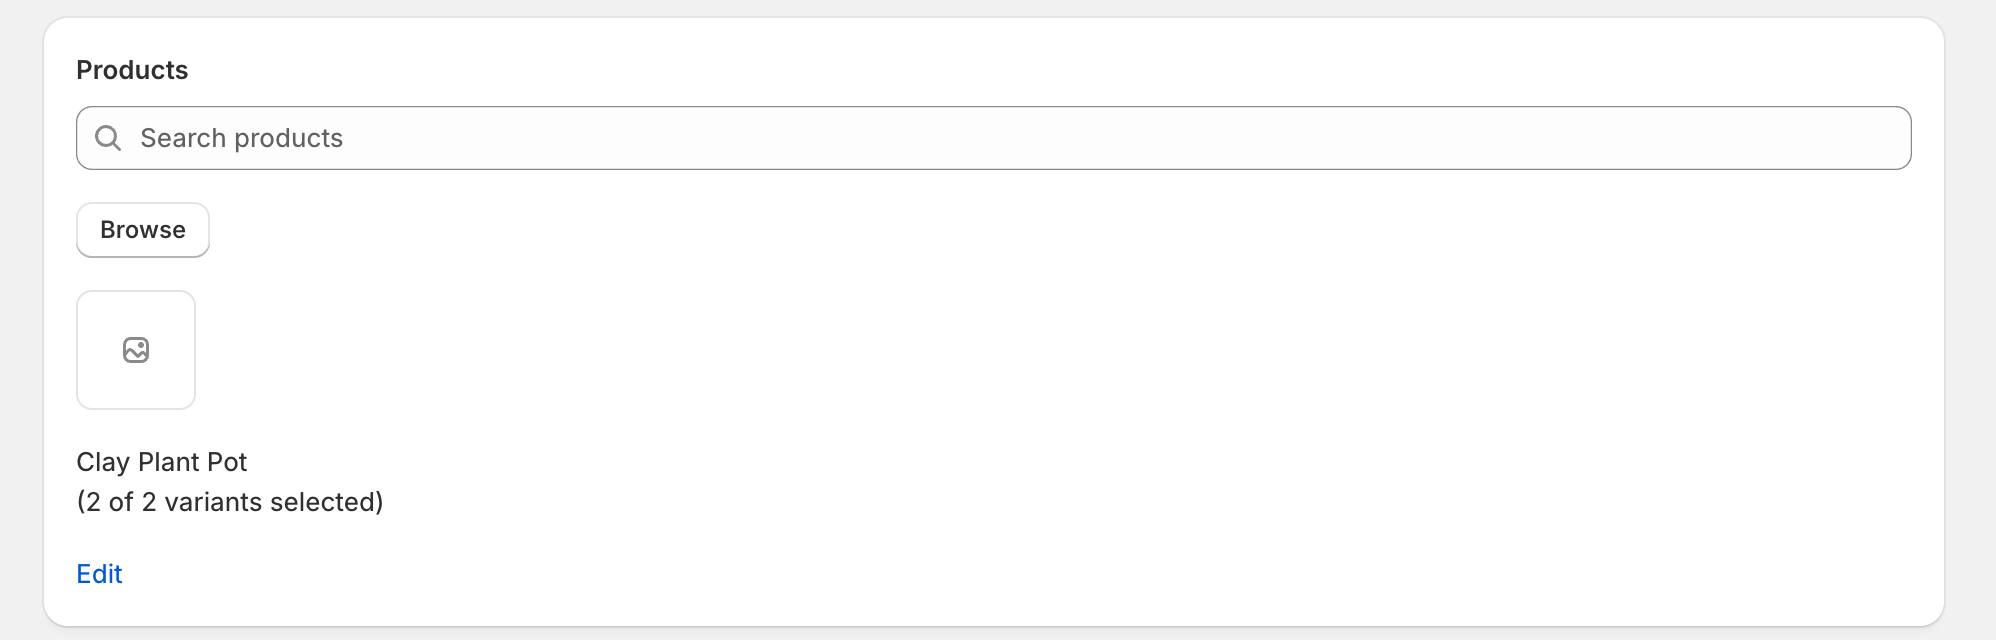
In the app/components folder, create the file ProductPicker.jsx.
app/components/ProductPicker.jsx
Anchor to Step 3: Action to create the pre-orderStep 3: Action to create the pre-order
The next step is to create the action that will make it possible to create the pre-order with all the information we are gathering with the previous created components. Add the action inside your app/routes/app.create.jsx file. The following action is currently showing a working example on how to use the sellingPlanGroupCreate mutation to create a pre-order, this example can also be updated to create a Try before you buy.
app/routes/app.create.jsx
Anchor to Step 4: Complete create pageStep 4: Complete create page
The following code illustrate the complete code for the app/routes/app.create.jsx file. We use the Toast API to add feedback when a merchant is creating a new pre-order.
app/routes/app.create.jsx
Anchor to Next stepsNext steps
The code that you just created is only a first step to create a complete pre-order or Try before you buy app. You can use the following API object to improve your application:
- SellingPlanCheckoutCharge that will let you decide how customers are charged with pre-order and TBYB.
- SellingPlanFixedBillingPolicy that will let you decide how customers will handle the remain balance customer will need to pay for a pre-order and TBYB
- SellingPlanFixedDeliveryPolicy that will let you decide how fulfillment will work with you pre-order and TBYB.
- SellingPlanInventoryPolicy that will let you decide how the inventory will update with you pre-order and TBYB.