Start building a pre-order and Try Before You Buy (TBYB) app
You're ready to create a new app that helps merchants create pre-order or TBYB options. To get started, you'll set up the foundation of your app.
To build a pre-order or TBYB app, you want to set up required access scopes and pages for the app. You want to have the following pages on the app:
- A page where merchants can create a pre-order or TBYB option
- A homepage where merchants can view a list of the pre-order or TBYB options that they created
Anchor to What you'll learnWhat you'll learn
In this tutorial, you'll learn how to do the following tasks:
- Set up required access scopes
- Create an app page
- Add navigation for app pages
- Add the empty state and title bar components to the homepage
Anchor to RequirementsRequirements
- Most subscriptions, pre-order and try before you buy apps need to request API access through the Partner Dashboard. We give API access to apps that are designed according to our [principles for subscriptions, pre-order and TBYB apps] (/docs/apps/selling-strategies/purchase-options#shopifys-principles).
- Public apps that use subscriptions, pre-order or TBYB need to meet specific requirements to be published on the Shopify App Store.
- Custom apps created in the Shopify admin can't use subscriptions, pre-order or TBYB because these apps can't use extensions or request access to protected scopes. If you're building a solution for a single store, then build your custom app in the Partner Dashboard.
- Complete the tutorial to scaffold an app and set up your development environment.
- Complete the tutorials to create pre-order and TBYB (try before you buy) options and manage delivery profiles.
Anchor to Step 1: Set up required access scopesStep 1: Set up required access scopes
Your app requires the following access scopes:
write_productswrite_customerswrite_draft_orderswrite_purchase_options
-
Navigate your app directory.
-
In the
shopify.app.tomlfile, add the access scopes.
shopify.app.toml
Update the navigation links in the app/routes/app.jsx file. For more information on routing refer to the app nav component in the App Bridge Library web components.
- In
app/routes/app.jsx, replace the content with the following code:
app/routes/app.jsx
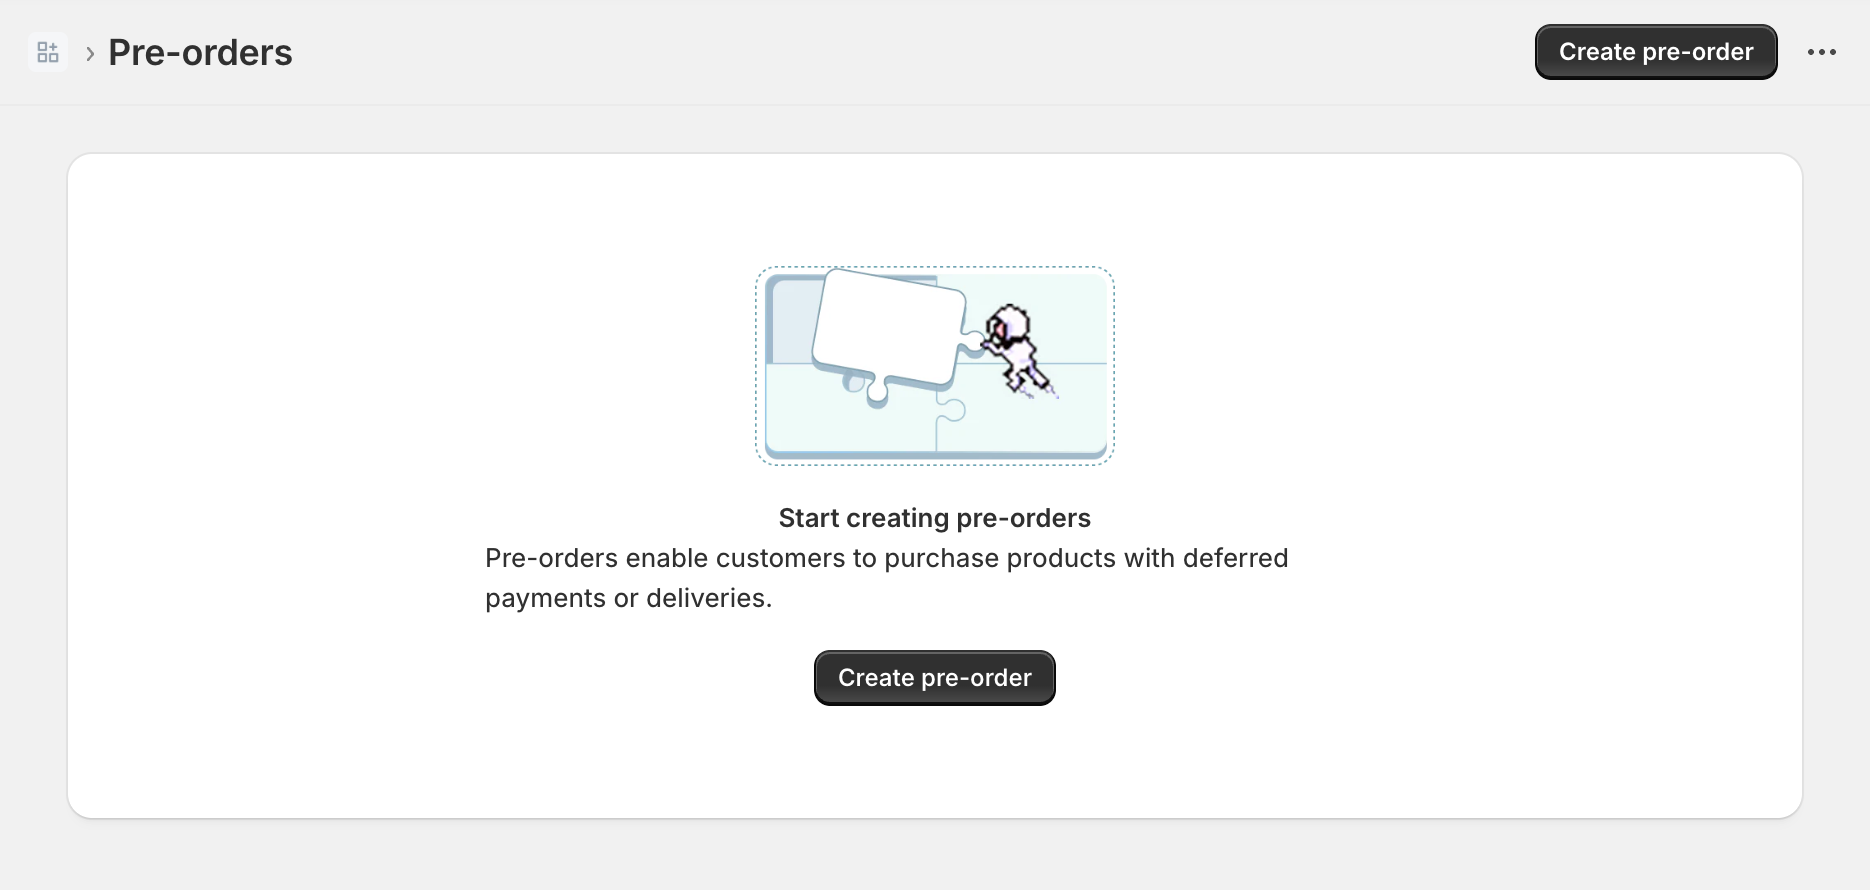
Anchor to Step 3: Update App Home pageStep 3: Update App Home page
Now that you've set up your app pages, you can use Polaris to build the user interface. You'll add the following components to the app._index.jsx file:
- An empty state pattern is used to display the empty state before merchant can view their pre-order or TBYB options.
- The page component is used to show button actions to create pre-order or TBYB options.
In app/routes/app._index.jsx, replace the content with the following code:
app/routes/app._index.jsx
Your app's homepage displays the empty state and the title bar: