This is the second part of a tutorial series to build a tokengating app. You need to complete [Create gates in admin using Gates API](/docs/apps/build/blockchain/tokengating/build-a-tokengating-app/create-gates-admin) before starting this tutorial.
Now that you've created the admin app to configure gates, you need to show the gates in the online store, verify that the customer is the owner of the wallet, and pass the gate context to checkout to inform a function whether the gate has been unlocked.
> Note:
> If you're using a custom storefront built using [Hydrogen]((/docs/storefronts/headless/hydrogen/getting-started) or the [Headless channel](/docs/storefronts/headless/building-with-the-storefront-api), then you need to follow the [build a tokengated storefront](/docs/apps/build/blockchain/tokengating/build-a-tokengated-storefront) tutorial series instead of this tutorial.
## What you'll learn
* Show gates in the Online Store using a theme app extension, which includes a React app to wrap the [`tokengate`](/docs/api/blockchain/components/tokengate) and [`connect wallet`](/docs/api/blockchain/components/connect-wallet) components, and includes a Liquid object to load the gate information
* Enable wallet connection on the storefront and validate the wallet signature
* Create and store an HMAC that we'll need later to inform our Shopify Function
## Step 1: Create the theme app extension
Theme app extensions allow merchants to add custom elements to their themes without having to interact with Liquid templates or code.
1. Navigate to the root directory of the app.
2. Run the following command to start creating the extension:
For more details on finishing this process, review [Getting started with theme app extensions](/docs/apps/build/online-store/theme-app-extensions/build).
After this step is complete, you should have a new `extensions` directory.
## Step 2: Set up the theme app extension app block to host the React app
To use the [blockchain components](/docs/api/blockchain/), you'll need a React app. Create a root container for the app in an `app-block.liquid` file. This will host the React app.
To be compatible with this build method, you need to use an inline script tag with `type=module`.
1. In the `/extensions/tokengate/blocks` directory, create a new file named `app-block.liquid`.
2. Add the following code:
## Step 3: Create a React app
Set up a source directory. Code in the source directory is [bundled](https://reactjs.org/docs/code-splitting.html) to be used with the theme app extension.
1. Create a new directory at `/extensions/tokengate-src`.
2. In the `/extensions/tokengate-src` directory, create a new file named `package.json`.
3. Add the following code:
4. Run your package manager's install command to install the dependencies:
### Create a React entrypoint
Create a React app to set the root container, and configure a component to render in that container. In this step, you'll write a React app using a component placeholder.
1. In the `/extensions/tokengate-src/`folder, create a new `src` directory.
2. In the `/extensions/tokengate-src/src` directory, create a new file named `index.jsx`.
3. Add the following code:
### Bundle the application
Use [Vite](https://vitejs.dev/) as the React bundler.
1. In the `/extensions/tokengate-src` directory, create a new file named `vite.config.js`.
2. Add the following code:
3. Build the bundle by running the following command:
### Install the theme app extension
Install the theme app extension into your development store. For more information, refer to [Getting started with theme app extensions](https://shopify.dev/apps/online-store/theme-app-extensions/getting-started).
1. Start or restart your dev server by running the following command:
2. Follow the instructions in the CLI output to preview the theme app extension. This includes the following steps:
- Opening the host theme in the theme editor
- Adding your app block to the theme
- Saving the theme
3. Set up your theme app extension in the host theme by adding it to a product page.
4. Preview your theme app extension on a gated product page.
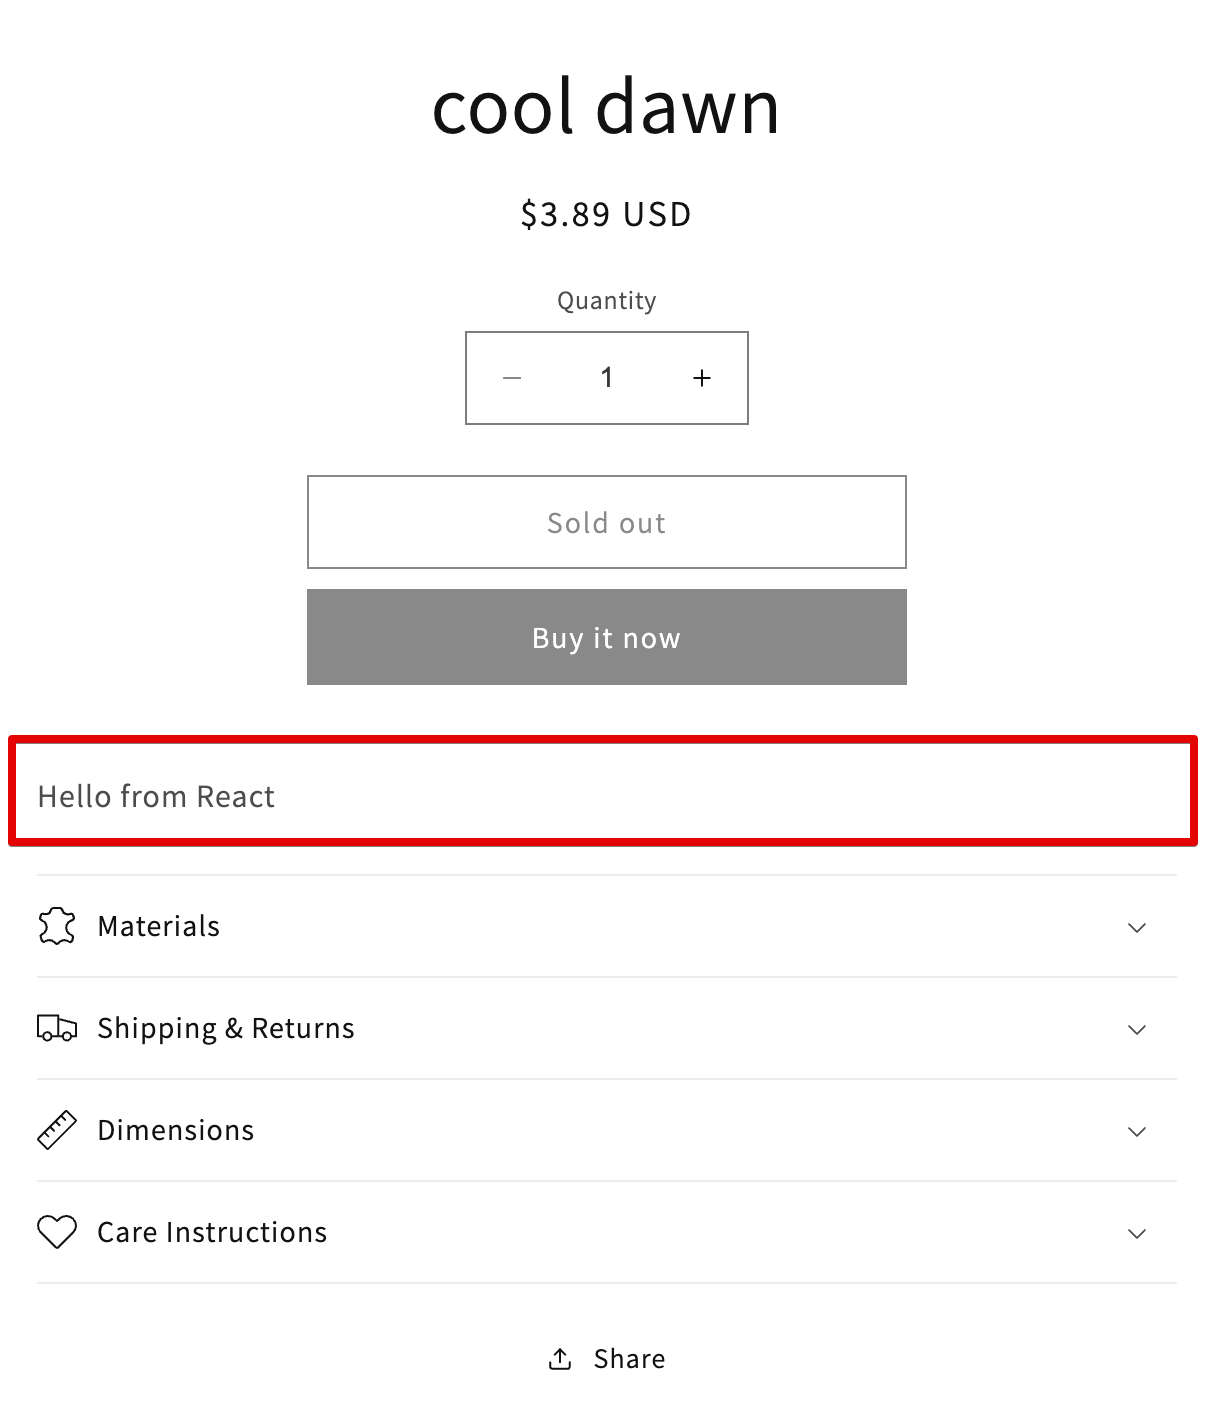
You should see "Hello from React" in your theme app extension preview:
## Step 4: Add the Blockchain components in the React app
Create an `App.jsx` component for the app. You'll add the Blockchain components and required [context providers](https://reactjs.org/docs/context.html).
1. Retrieve the `projectId` for your [WalletConnect](https://walletconnect.com) app by opening the WalletConnect [dashboard](https://cloud.walletconnect.com/sign-in) and navigating to your project.
1. In the `/extensions/tokengate-src/src` directory, create a new file named `App.jsx`.
1. Add the following code:
1. Open the `/extensions/tokengate-src/src/index.jsx` file.
1. Import the `App` component that you created by adding the following code:
1. Change the root component to the new `App` component that you created.
1. Build your extension.
When the new bundle uploads, your extension should look something like the following:
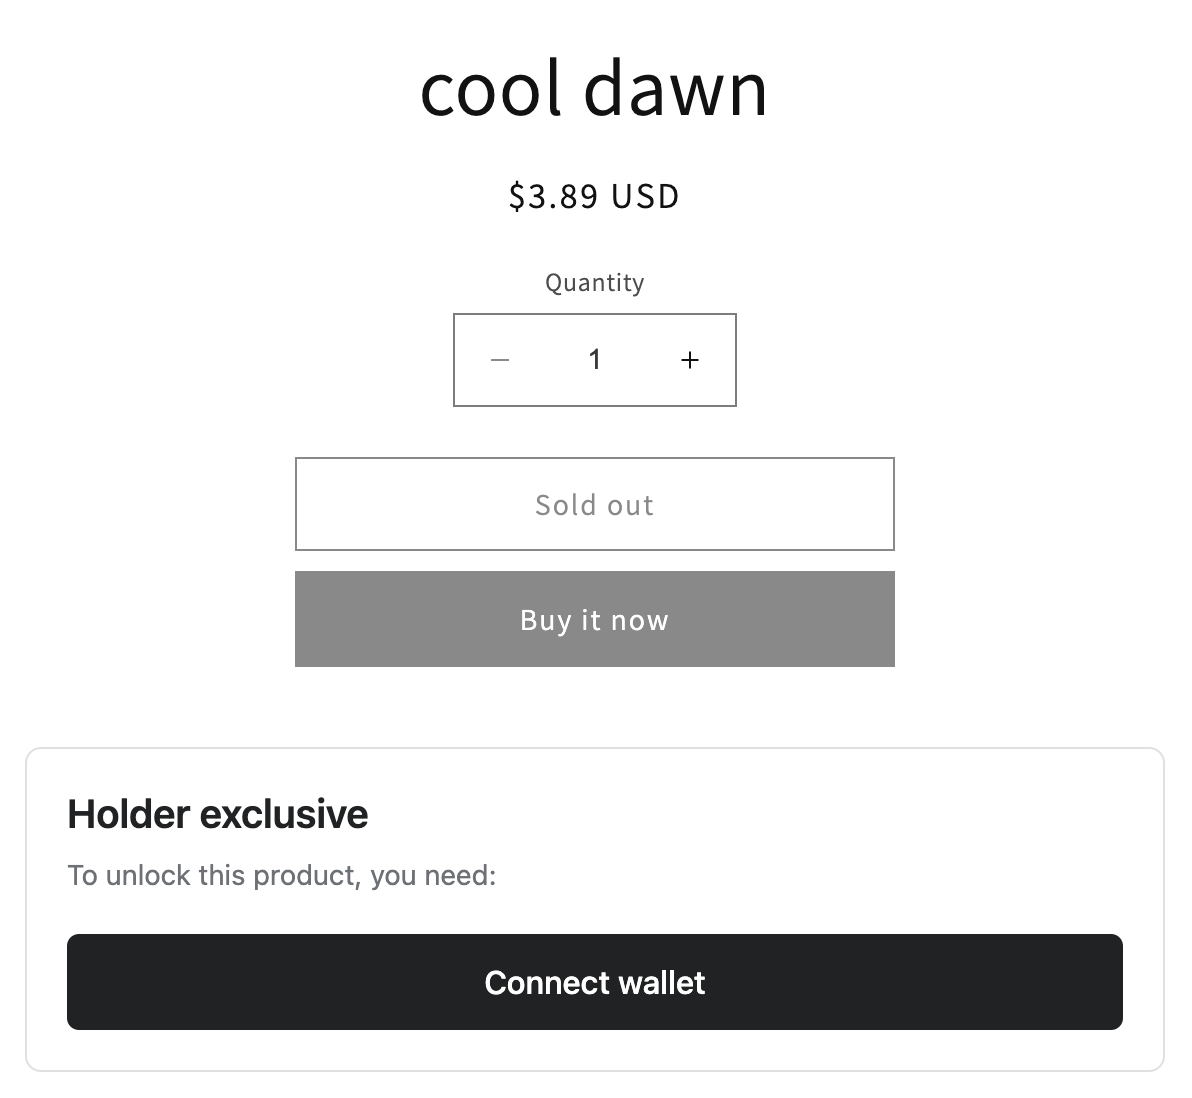
At this point, you can connect your wallet using MetaMask or other apps that support WalletConnect.
## Step 5: Load the gate information into your component using Liquid
Use the new `gates` object on the Liquid product object to deliver the gate requirements that you've configured using the admin app. Write that data from Liquid into a global JavaScript variable that the React app will reference.
### Write the gate data from Liquid as a global JavaScript variable
1. Open `/extensions/tokengate/app-block.liquid`
2. Add the following code to the end of the file:
3. When the theme app extension reloads, you can see an object written to the page if you view its source:
### Read the gate data from the global JavaScript variable into our React app
For ease of implementation and understanding, this step shows you how to read the gate data into your React app for the first available gate, but ignores any other gates.
1. Open `/extensions/tokengate-src/src/App.jsx`
2. Delete the temporary gate retrieval code and replace it with the following code:
3. Build the extension
The theme app extension should load the gate that you created in the [Create gates admin tutorial](/docs/apps/build/blockchain/tokengating/build-a-tokengating-app/create-gates-admin): 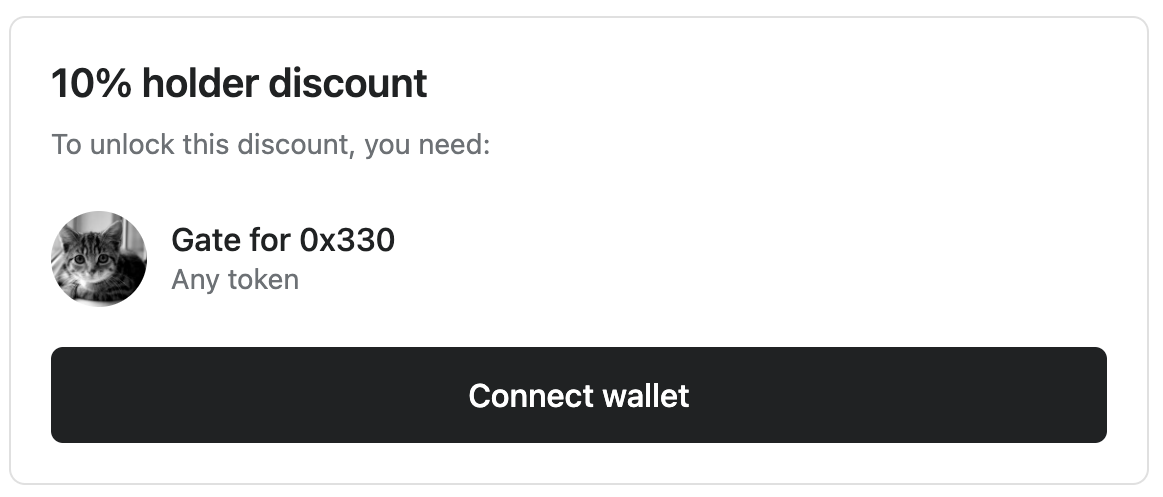
After you sign the message, you'll see an error regarding a missing required token. 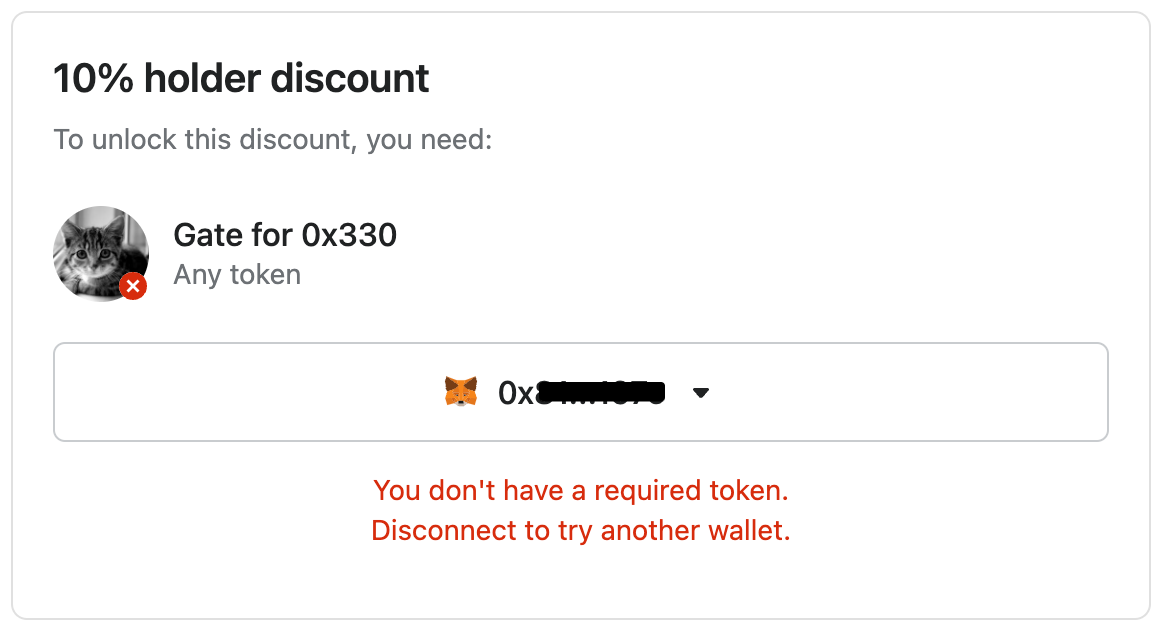
## Step 6: Create an API to validate the signature and create an HMAC
Submit the address, signature, and signature message to the backend for verification. At the same time, you'll check whether the user has unlocking tokens.
### Install web3 dependencies
1. Install the `web3` package for use on the backend by running `npm install --prefix web web3`:
### Create the validation API
Create public backend API endpoints for the theme app extension to validate addresses against gate configurations.
1. In the `/web` directory, create a new file named `public-api.js`.
2. Add the following code:
> Warning:
> This code creates an HMAC using the secret key `createHmac("sha256", "secret-key");`. This key has been embedded in the code, but should not be included in your file to avoid leaking the secret. You can reference an environment variable for this purpose instead.
### Set up helper functions to inspect gates
Retrieve the contract addresses that are embedded in the gates. You can use these contract addresses to validate against a customer's wallet to determine whether the customer owns unlocking NFTs.
1. In the `/web/api` directory, create a new file `gates.js`.
1. Add the following code:
### Wire up the public API
Wire up the public API by passing an express app instance to the `configurePublicApi` method.
1. Open `/web/index.js`.
2. Import the public API configuration method that you created.
3. Call the method `configurePublicApi` to wire up the API endpoints.
### Configure Vite dev server
Allow Vite dev server to proxy public API endpoints.
1. Open `/web/frontend/vite.config.js`.
2. Change the following code:
3. Restart your server:
> Note:
> The Cloudflare URL is randomly generated and temporary.
## Step 7: Create a hook to run gate evaluation
Wrap the API call with a custom hook.
1. In the `/extensions/tokengate-src/src/`directory, create a new file named `useEvaluateGate.js`.
2. Add the following code to the file:
### Setting the host
The code in `/extensions/tokengate-src/src/useEvaluateGate.js` contains a constant that you'll need to modify to match your local dev server's settings. This `port` will change every time that you run your server.
1. Find the port that your server is running on.
1. Open the file `/extensions/tokengate-src/src/useEvaluateGate.js`
1. Edit the code and replace `YOUR_TUNNEL_URL` with the Cloudflare URL that you found in the earlier step.
> Warning:
> The dev server's Cloudflare URL is randomly generated and temporary.
## Step 8: Call the gate evaluation hook
Call the `useEvaluateGate` hook to get an `evaluateGate` function. Then, use `evaluateGate` in an `onConnect` callback.
1. Open `/extensions/tokengate-src/src/App.jsx`
2. Import the `useEvaluateGate` hook:
3. Add a call to the `useEvaluateGate` hook and add an `onConnect` callback to the `useConnectWallet` props.
4. Modify the `Tokengate` component props to use the `unlockingTokens` that's retrieved from the `useEvaluateGate` call.
5. Build your theme app extension by running the following command:
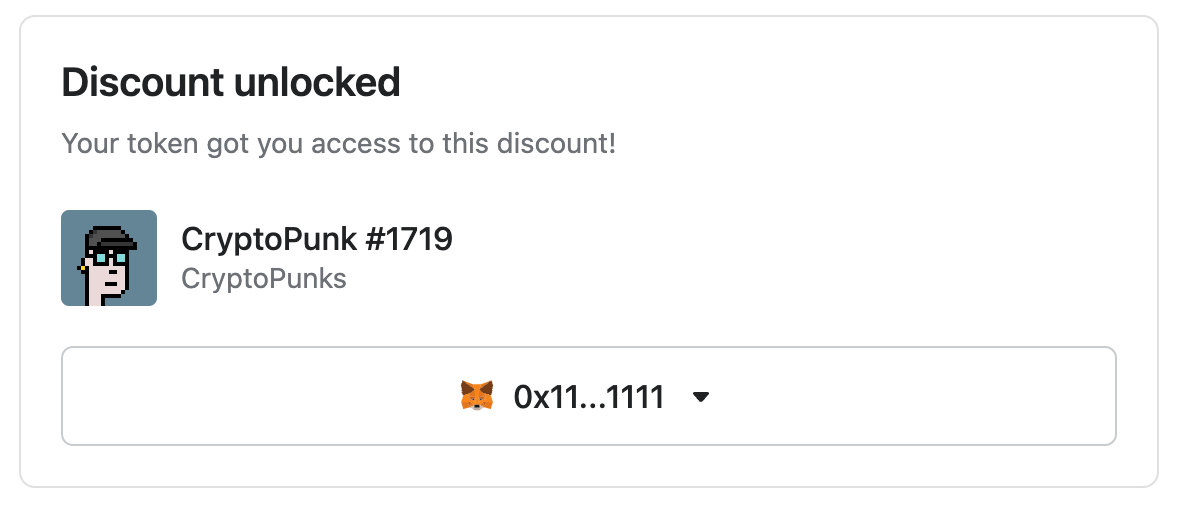
6. Test the extension. The unlocking tokens should appear after you've signed.
## Step 9: Write the HMAC to the gate context for later consumption
Write the HMAC to the gate context right after you get the response from the gate evaluation endpoint. The HMAC will be available to Shopify Functions.
1. Open `/extensions/tokengate-src/src/useEvaluateGate.js`
2. Import the gate context client by adding this import:
3. The client may be module scoped, so you can add this near the top of the file, after the import.
4. Write the gate context after setting the JSON response.
5. Build the extension by running the following command:
When you reload the page, you should notice an additional call to `update.js` which is used to write the gate context. The gate context is a cart attribute, which you can see by visiting `your-shop-domain.myshopify.com/cart.json`.
When you visit `cart.json`, you should see something like the following:
## Step 10: Testing it out
You're ready to test the theme app extension. Open a gated product that you created previously. After you sign the message, a network request checks for unlocking tokens and computes an HMAC. Unlocking tokens are displayed, and the gate context is written. When you reload the page after unlocking, the product stays unlocked.
## Next steps
* [Create a Shopify Function to apply the exclusive discount](/docs/apps/build/blockchain/tokengating/build-a-tokengating-app/create-gated-discount-function) to eligible buyers.