Save Bar API
App Bridge isn't versioned with Polaris. App Bridge APIs and web components are identical in every App Home reference version.
App Bridge isn't versioned with Polaris. App Bridge APIs and web components are identical in every App Home reference version.
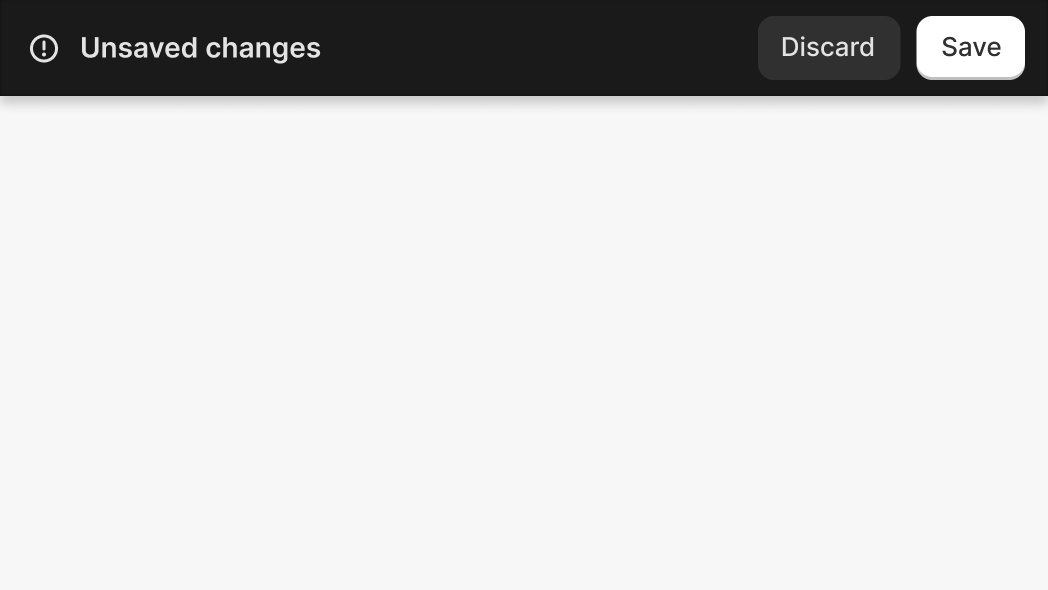
The Save Bar API indicates that a form on the current page has unsaved information. You can implement save bar behavior in one of two ways:
-
Automatic (form attribute): Add the
data-save-barattribute to aformelement. The save bar displays automatically when there are unsaved changes. Thesubmitevent fires when the merchant clicks Save, and theresetevent fires when the merchant clicks Discard. This is the simplest approach for standard form workflows. -
Programmatic (web component): Add a
<ui-save-bar>element with a uniqueidto your page, then useshopify.saveBar.show(id),shopify.saveBar.hide(id), andshopify.saveBar.toggle(id)to control it. The<ui-save-bar>element can contain<button>children for Save (withvariant="primary") and Discard. This approach gives you full control over when the save bar appears and what happens when merchants interact with it.
Choose one approach for each form. Don't combine data-save-bar on a form with programmatic shopify.saveBar methods. Each approach manages save bar visibility independently and using both can cause unexpected behavior.
Choose one approach for each form. Don't combine data-save-bar on a form with programmatic shopify.saveBar methods. Each approach manages save bar visibility independently and using both can cause unexpected behavior.
Anchor to Use casesUse cases
- Standard forms: Use the
data-save-barattribute on aformelement to automatically detect and manage unsaved changes with save and discard actions. - Custom state management: Use the
<ui-save-bar>web component withshopify.saveBarmethods to control the save bar based on application state that isn't tied to a single form. - Data protection: Prevent accidental data loss by prompting users when leaving a page with unsaved changes using
shopify.saveBar.leaveConfirmation().
Anchor to MethodsMethods
The object provides methods to programmatically control save bar visibility.
- Anchor to hidehidehide(id: string) => Promise<void>(id: string) => Promise<void>
Hides the save bar. Call this after the merchant saves or discards their changes.
- Anchor to leaveConfirmationleave
Confirmationleave Confirmation () => Promise<void>() => Promise<void> Prompts the merchant to confirm before leaving the page when there are unsaved changes. The promise resolves when the merchant confirms or when no save bar is visible. Use this before programmatic navigation (for example, using
window.locationor custom routing) to prevent accidental data loss.- Anchor to showshowshow(id: string) => Promise<void>(id: string) => Promise<void>
Displays the save bar to indicate unsaved changes. Call this when you want to prompt the merchant to save.
- Anchor to toggletoggletoggle(id: string) => Promise<void>(id: string) => Promise<void>
Toggles save bar visibility between shown and hidden states.
html
Preview
Examples
Display a save bar
Description
Display a save bar. This example adds the `data-save-bar` attribute to a form element. When the form has unsaved changes, the save bar appears automatically.
html
<form
  data-save-bar
  onSubmit="console.log('submit', new FormData(event.target)); event.preventDefault();"
>
  <label>
    Name:
    <input name="username" />
  </label>
</form>
Handle discard events
Description
Handle discard events. This example subscribes to the [`reset`](https://developer.mozilla.org/en-US/docs/Web/API/HTMLFormElement/reset_event) event to run custom logic when the merchant clicks the Discard button.
Event handler property
<form
  data-save-bar
  onReset="console.log('discarding')"
>
  <label>
    Name:
    <input name="username" />
  </label>
</form>
Event listener
<form data-save-bar>
  <label>
    Name:
    <input name="username" />
  </label>
</form>

<script>
  const form = document.querySelector('form');
  form.addEventListener('reset', (e) => {
    console.log('discarding');
  });
</script>
Handle save events
Description
Handle save events. This example subscribes to the [`submit`](https://developer.mozilla.org/en-US/docs/Web/API/HTMLFormElement/submit_event) event to run custom logic when the merchant clicks the Save button.
Event handler property
<form
  data-save-bar
  onSubmit="console.log('submitting');"
>
  <label>
    Name:
    <input name="username" />
  </label>
</form>
Event listener
<form data-save-bar>
  <label>
    Name:
    <input name="username" />
  </label>
</form>

<script>
  const form = document.querySelector('form');
  form.addEventListener('submit', (e) => {
    console.log('submitting');
  });
</script>
Show discard confirmation
Description
Show discard confirmation. This example adds the `data-discard-confirmation` attribute to show a confirmation modal when the merchant clicks the Discard button, preventing accidental data loss.
html
<form
  data-save-bar
  data-discard-confirmation
  onSubmit="console.log('submit', new FormData(event.target)); event.preventDefault();"
>
  <label>
    Name:
    <input name="username" />
  </label>
</form>
Control save bar programmatically
Description
Control the save bar programmatically. This example defines a `<ui-save-bar>` element with an `id`, then uses `shopify.saveBar.show(id)` and `shopify.saveBar.hide(id)` to manage visibility based on application state.
tsx
function SaveBarExample() {
  const saveBarId = 'settings-save-bar';
  const [hasUnsavedChanges, setHasUnsavedChanges] = React.useState(false);

  const handleFieldInput = () => {
    if (!hasUnsavedChanges) {
      setHasUnsavedChanges(true);
      shopify.saveBar.show(saveBarId);
    }
  };

  const handleDiscard = () => {
    setHasUnsavedChanges(false);
    shopify.saveBar.hide(saveBarId);
  };

  const handleSave = async () => {
    // Save to your backend
    setHasUnsavedChanges(false);
    shopify.saveBar.hide(saveBarId);
  };

  return (
    <s-page heading="Settings">
      <ui-save-bar id={saveBarId}>
        <button variant="primary" onClick={handleSave}>Save</button>
        <button onClick={handleDiscard}>Discard</button>
      </ui-save-bar>
      <s-section heading="Configuration">
        <s-text-field
          label="Store name"
          onInput={handleFieldInput}
        />
      </s-section>
    </s-page>
  );
}
Toggle save bar
Description
Toggle the save bar. This example defines a `<ui-save-bar>` element with an `id`, then uses `shopify.saveBar.toggle(id)` to switch between shown and hidden states.
tsx
function ToggleExample() {
  const saveBarId = 'toggle-save-bar';

  const handleToggle = () => {
    shopify.saveBar.toggle(saveBarId);
  };

  return (
    <s-page heading="Settings">
      <ui-save-bar id={saveBarId}>
        <button variant="primary">Save</button>
        <button>Discard</button>
      </ui-save-bar>
      <s-section heading="Controls">
        <s-button onClick={handleToggle}>
          Toggle save bar
        </s-button>
      </s-section>
    </s-page>
  );
}
Leave confirmation
Description
Leave confirmation. This example uses `shopify.saveBar.leaveConfirmation()` to prompt the merchant before programmatic navigation when there are unsaved changes.
tsx
function LeaveConfirmationExample() {
  const saveBarId = 'leave-confirm-save-bar';
  const [hasUnsavedChanges, setHasUnsavedChanges] = React.useState(false);

  const handleFieldInput = () => {
    if (!hasUnsavedChanges) {
      setHasUnsavedChanges(true);
      shopify.saveBar.show(saveBarId);
    }
  };

  const handleCustomNavigation = async () => {
    // Call leaveConfirmation before programmatic navigation
    await shopify.saveBar.leaveConfirmation();
    // Navigation proceeds after merchant confirms or if no unsaved changes
    window.location.href = '/other-page';
  };

  return (
    <s-page heading="Settings">
      <ui-save-bar id={saveBarId}>
        <button variant="primary">Save</button>
        <button>Discard</button>
      </ui-save-bar>
      <s-section heading="Configuration">
        <s-text-field
          label="Store name"
          onInput={handleFieldInput}
        />
        <s-button onClick={handleCustomNavigation}>
          Go to other page
        </s-button>
      </s-section>
    </s-page>
  );
}
Controlled inputs
Description
Show the save bar in response to React state changes, not just native DOM events. This example uses a hidden input to dispatch a native input event when React state updates, so data-save-bar detects the change.
tsx
function ReactControlledInputsExample() {
  const [selectedProduct, setSelectedProduct] = React.useState<{
    id: string;
    title: string;
  } | null>(null);
  const [savedProduct, setSavedProduct] = React.useState<{
    id: string;
    title: string;
  } | null>(null);
  const hiddenInputRef = React.useRef<HTMLInputElement>(null);

  // Sync React state to hidden input and dispatch native event
  // so data-save-bar detects the change
  React.useEffect(() => {
    const input = hiddenInputRef.current;
    if (!input) return;

    const newValue = selectedProduct?.id ?? '';
    if (input.value !== newValue) {
      input.value = newValue;
      input.dispatchEvent(new Event('input', {bubbles: true}));
    }
  }, [selectedProduct]);

  const openResourcePicker = async () => {
    const selected = await shopify.resourcePicker({type: 'product'});
    if (selected?.length > 0) {
      const product = selected[0];
      setSelectedProduct({
        id: product.id,
        title: product.title,
      });
    }
  };

  const handleSubmit = (event: React.FormEvent) => {
    event.preventDefault();
    fetch('/api/save', {
      method: 'POST',
      body: JSON.stringify({productId: selectedProduct?.id}),
    });
    setSavedProduct(selectedProduct);
  };

  const handleReset = () => {
    setSelectedProduct(savedProduct);
  };

  return (
    <s-page heading="Settings">
      <form data-save-bar onSubmit={handleSubmit} onReset={handleReset}>
        {/* Hidden input bridges React state to data-save-bar */}
        <input
          ref={hiddenInputRef}
          type="hidden"
          name="productId"
          defaultValue=""
        />

        <s-section heading="Featured product">
          {selectedProduct ? (
            <s-clickable-chip removable onClick={() => setSelectedProduct(null)}>
              {selectedProduct.title}
            </s-clickable-chip>
          ) : (
            <s-button onClick={openResourcePicker}>Select product</s-button>
          )}
        </s-section>
      </form>
    </s-page>
  );
}