Getting started with Hydrogen and Oxygen
This tutorial will walk you through the process of creating a new Hydrogen storefront, linking it to your Shopify store, and then deploying it to Oxygen.
Anchor to RequirementsRequirements
Anchor to Step 1: (Optional) Set up the Shopify AI ToolkitStep 1: (Optional) Set up the Shopify AI Toolkit
Install the Shopify AI Toolkit to connect your AI coding assistant to Shopify's docs, APIs, and CLI. Your assistant gets the Shopify context it needs to answer questions, write code, and run commands more reliably.
Claude Code
In your terminal, run claude plugin install:
Terminal
Codex
In your terminal, run codex plugin add:
Terminal
Antigravity CLI
In your terminal, install the Shopify plugin:
Terminal
Cursor
In Cursor Chat, add the Shopify plugin:
Cursor Chat
Hermes
In your terminal, download the install script and run it:
Terminal
VS Code
-
Ensure the Agent plugins preview is enabled in your VS Code settings.
-
Open the Command Palette (
Cmd+Shift+Pon macOS,Ctrl+Shift+Pon Windows/Linux) and run:VS Code: Command Palette
Chat: Install Plugin From Source -
When prompted, enter the repository URL:
VS Code: Plugin source URL
https://github.com/Shopify/shopify-ai-toolkit
In your terminal, run claude plugin install:
Terminal
Anchor to Step 2: Create a new Hydrogen storefrontStep 2: Create a new Hydrogen storefront
In your terminal, create a new Hydrogen project using example data from Mock.shop:
Terminal
The --quickstart flag is shorthand for a set of recommended options for trying Hydrogen. You can drop it to see the available customizations.
The --quickstart flag is shorthand for a set of recommended options for trying Hydrogen. You can drop it to see the available customizations.
You'll see a confirmation message with some details about your new project:
Output
Anchor to Step 3: Run the dev serverStep 3: Run the dev server
After installation, open your new project and start the dev server:
Terminal
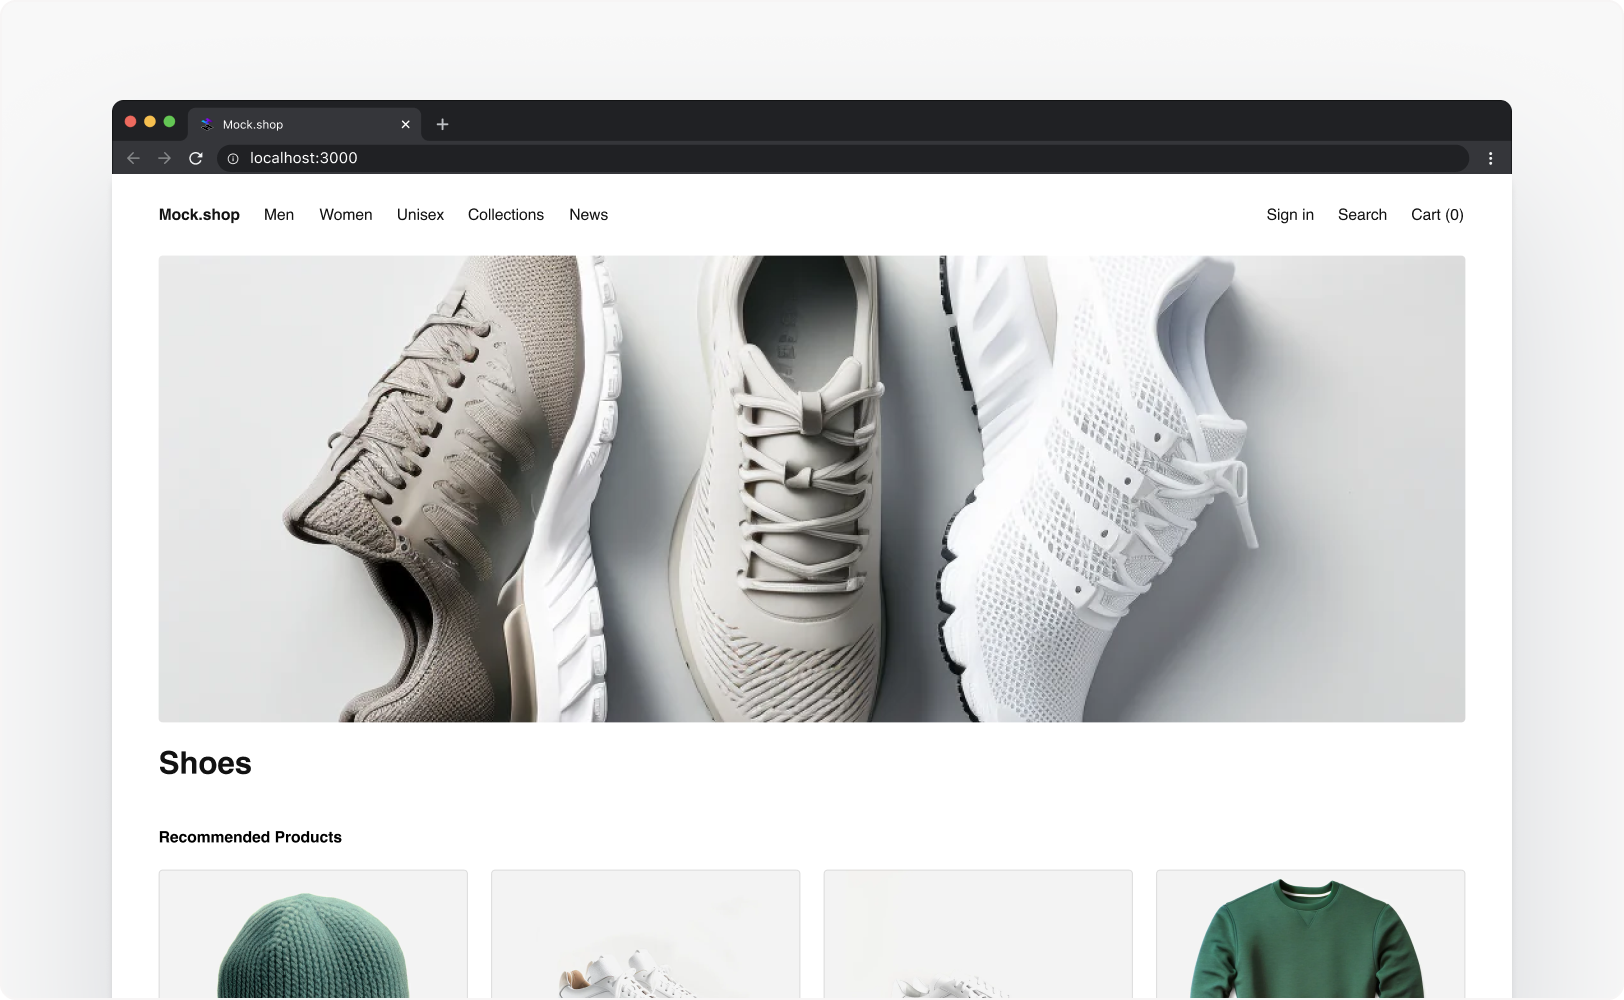
Once the dev server is running, open http://localhost:3000 in your browser and you'll see Mock.shop inventory:
Anchor to Step 4: Link your Hydrogen project to ShopifyStep 4: Link your Hydrogen project to Shopify
By default, your Hydrogen project displays example products from Mock.shop. To show your own products, link your local project to Shopify, create a new storefront, and sync your environment variables.
-
Link your Hydrogen project to Shopify:
Terminal
npx shopify hydrogen linkFollow the prompts to log in to your Shopify account and create a new storefront:
Output
✓ my-shopify-store? Select a Hydrogen storefront to link:✓ Create a new storefront? New storefront name:> hydrogen-quickstart -
Update your project's environment variables:
Terminal
npx shopify hydrogen env pullYour terminal will show a diff like this:
Output
- SESSION_SECRET="foobar"- PUBLIC_STORE_DOMAIN="mock.shop"+ PUBLIC_STOREFRONT_ID=[ID]+ PUBLIC_STOREFRONT_API_TOKEN=[TOKEN]+ PRIVATE_STOREFRONT_API_TOKEN=[TOKEN]+ PUBLIC_CUSTOMER_ACCOUNT_API_CLIENT_ID=[ID]+ PUBLIC_CUSTOMER_ACCOUNT_API_URL=https://shopify.com/[ID]
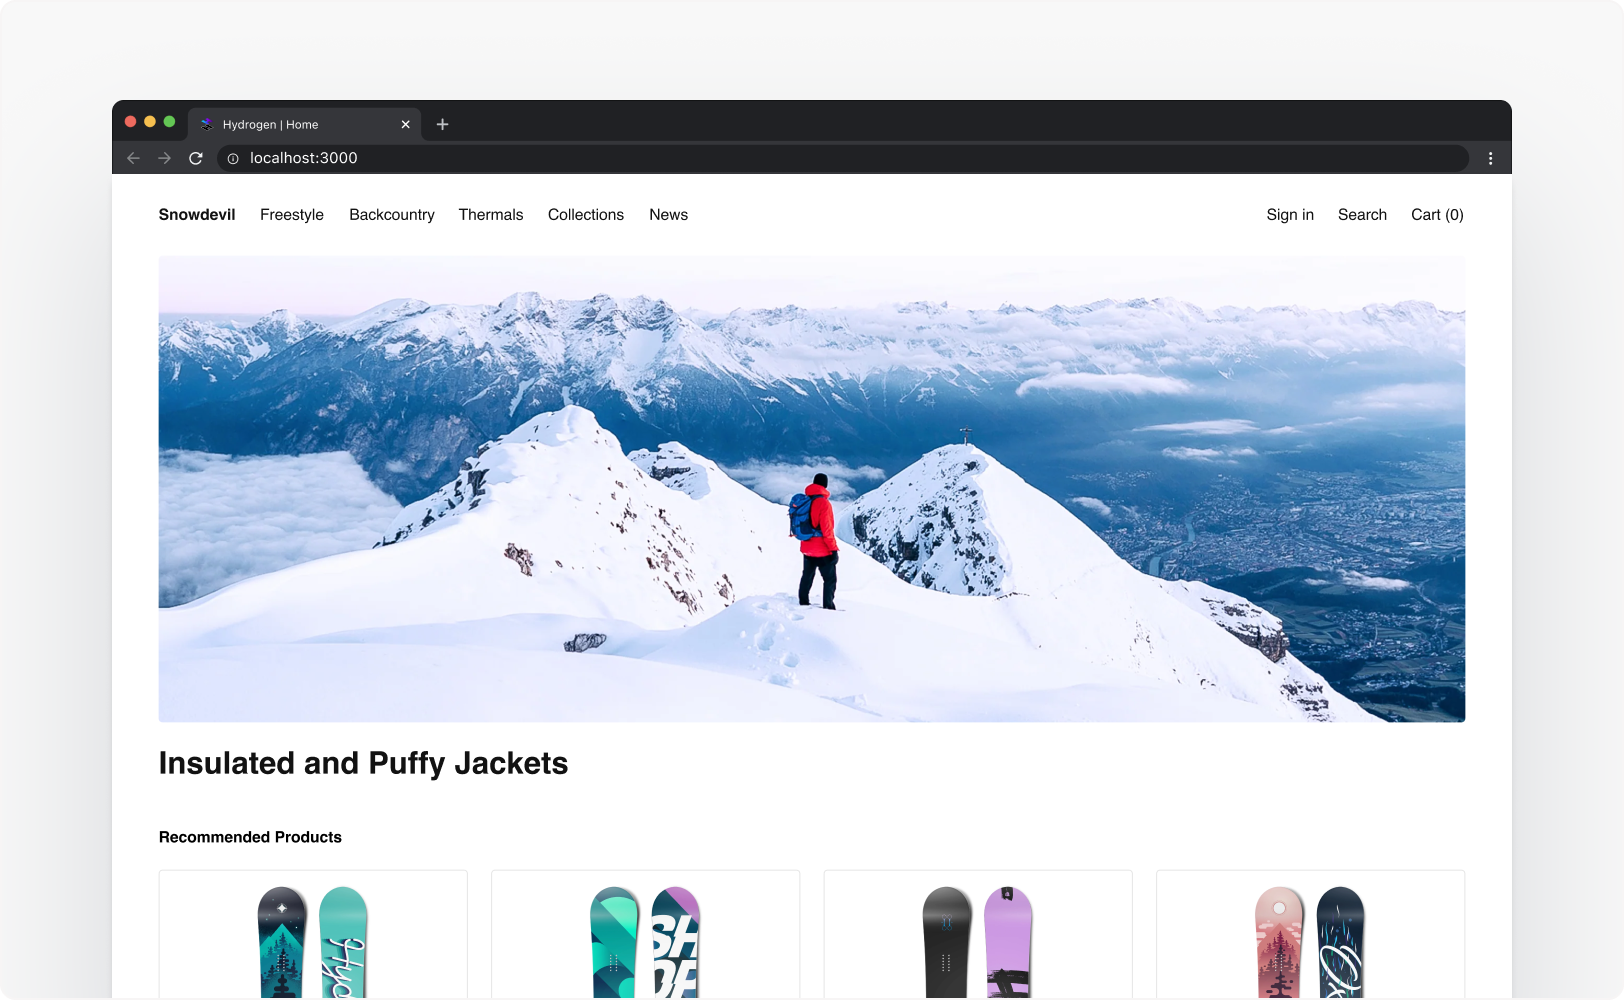
To confirm that the link works, run npm run dev and open http://localhost:3000. You'll now see your storefront inventory in your browser:
Anchor to Step 5: Deploy to OxygenStep 5: Deploy to Oxygen
After your Hydrogen storefront is linked, you can deploy it to Oxygen hosting to make it publicly accessible:
-
Deploy your project to Oxygen:
Terminal
npx shopify hydrogen deploy -
At the prompt to pick which environment to deploy to, select Preview.
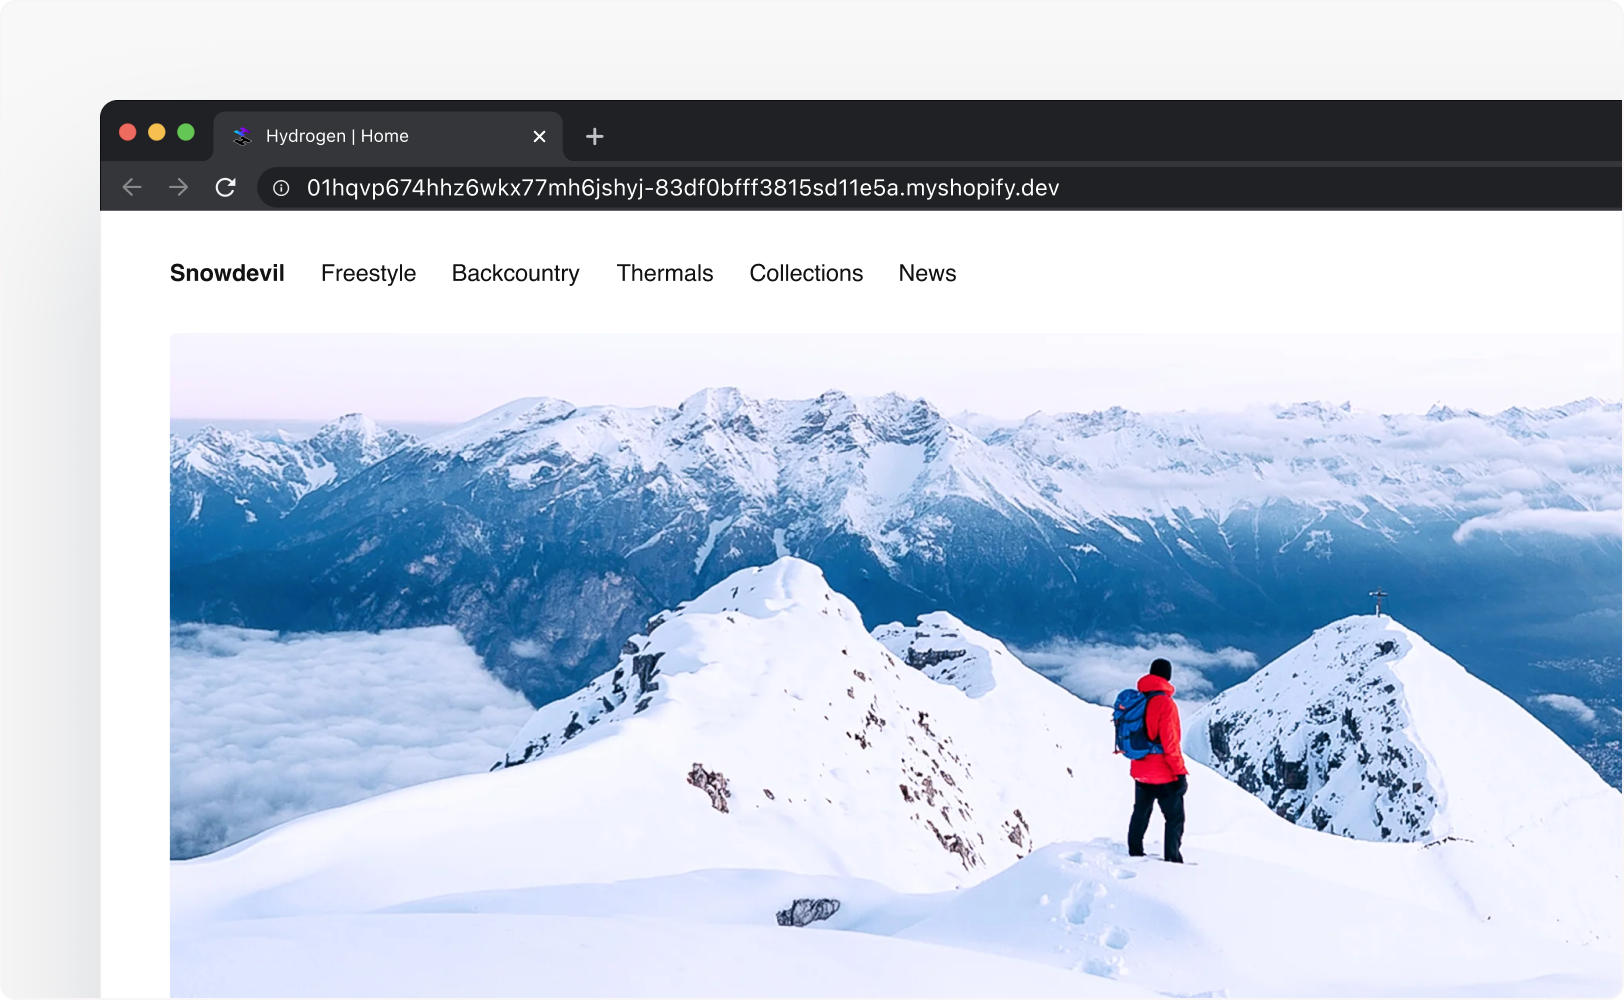
The Hydrogen CLI builds your storefront, creates a new Oxygen deployment, and returns a preview link in your terminal. Open the preview link in your browser see deployment URL:
Anchor to Next stepsNext steps
Congratulations! You've created a new Hydrogen storefront, connected it to Shopify, and made your first deployment to Oxygen.